
I was asked by my Auntie to make her a natural edge piece for the new house she had just built. With an open brief - there only requirement was to have a natural edge - no mention of the table, no mention of draws, width, length, timber - nothing. It only had to include a natural edge.
I asked her where she wanted to place the piece and it was by the front entrance of the house.
So this is my process of making her a piece.
 |
 |
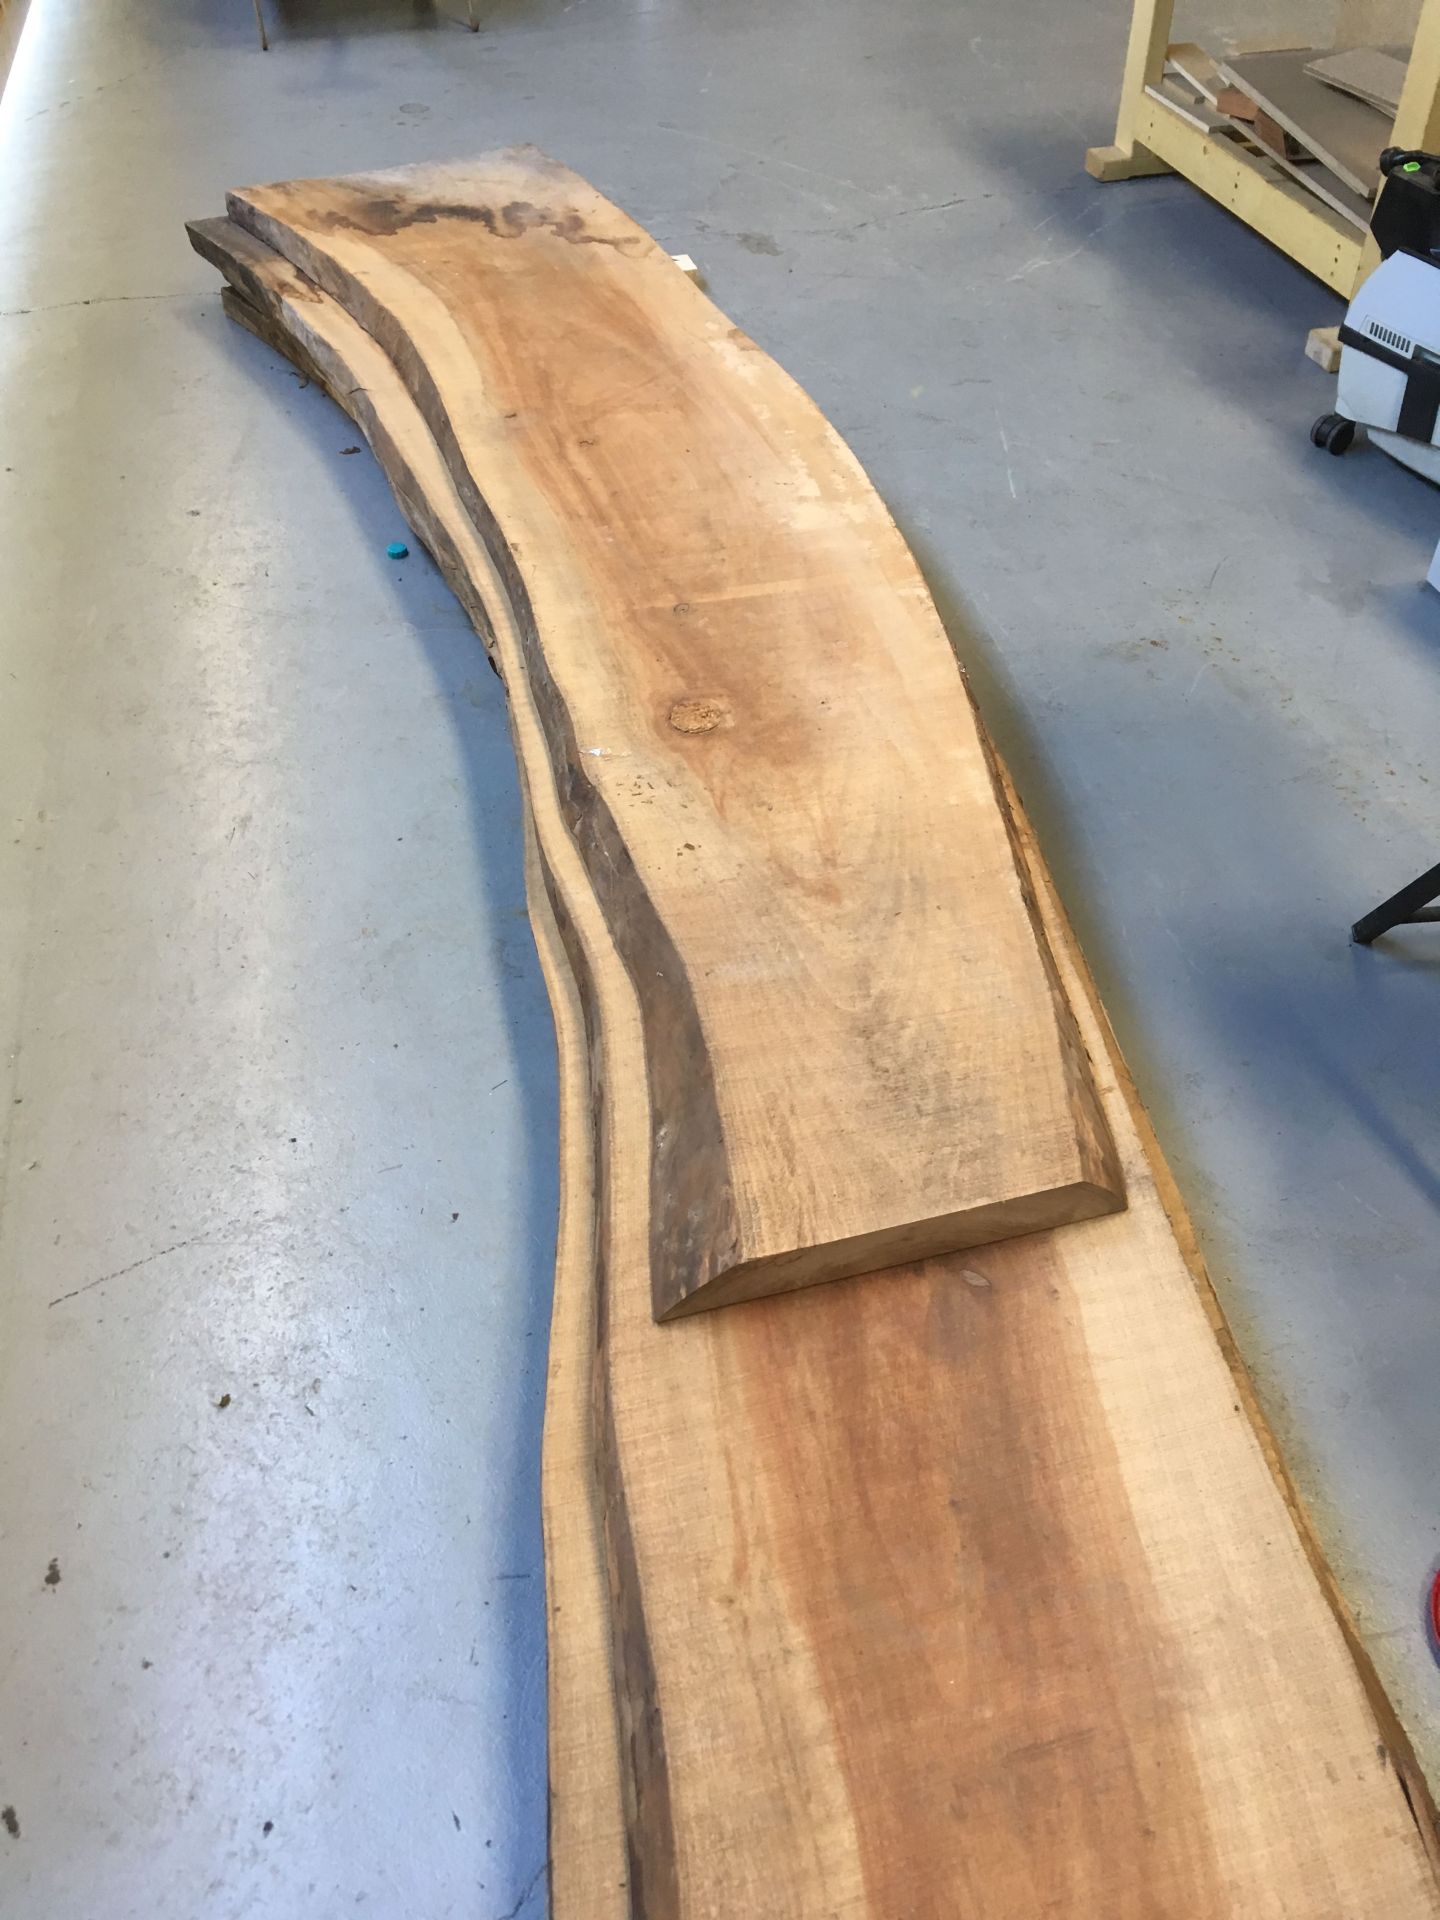
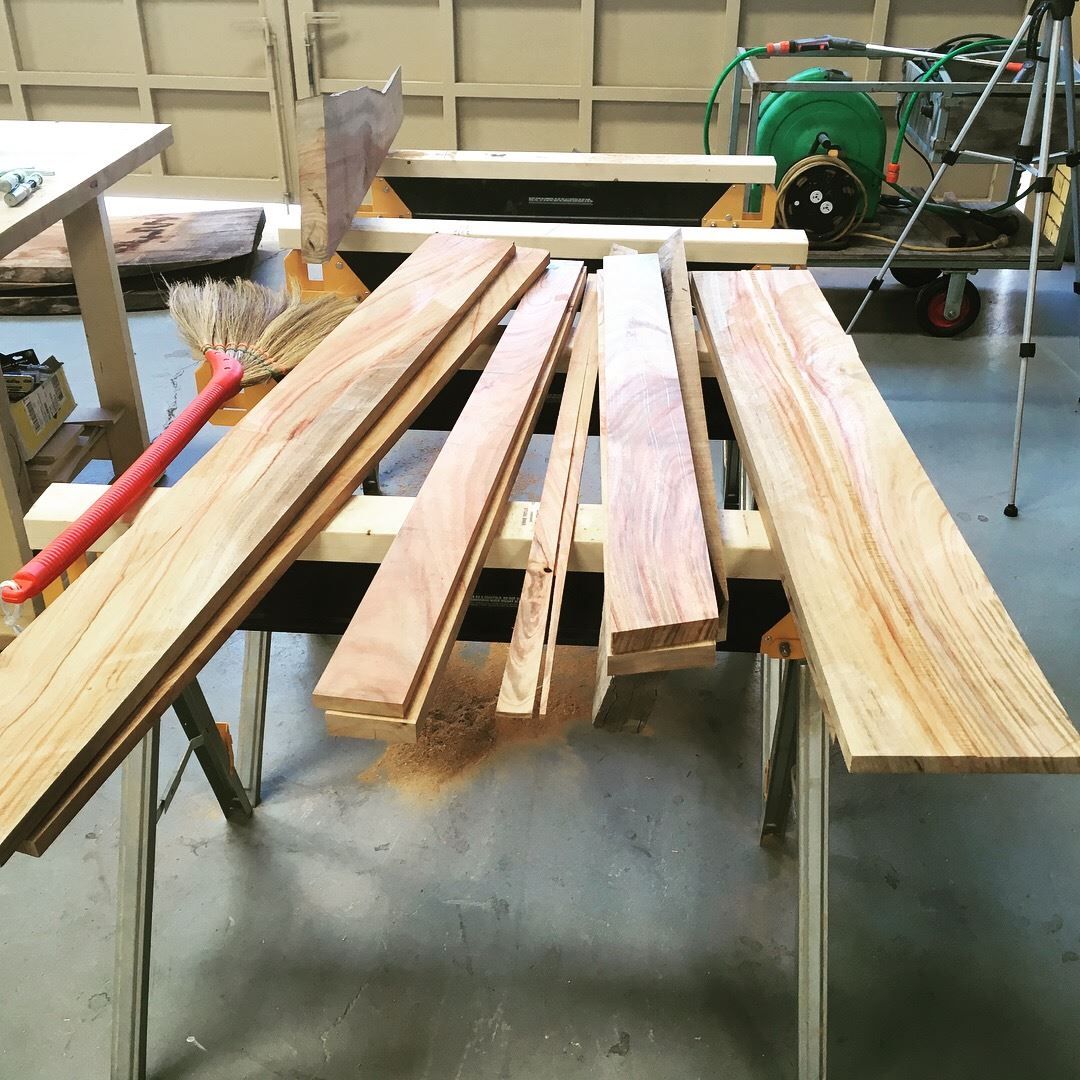
Its starts off with some slabs of Camphor Laurel. I purchased these slabs over 8 years ago and have left to air dry for all these years. I didn't buy them for this project - I just buy nice pieces of woods to someday make them into something special. I like Camphor Laurel because it cuts like butter and is easy to work, but more importantly I love the natural smell of the wood. Camphor Laurel is a highly prized timber in Japan and China where the tree originates from.
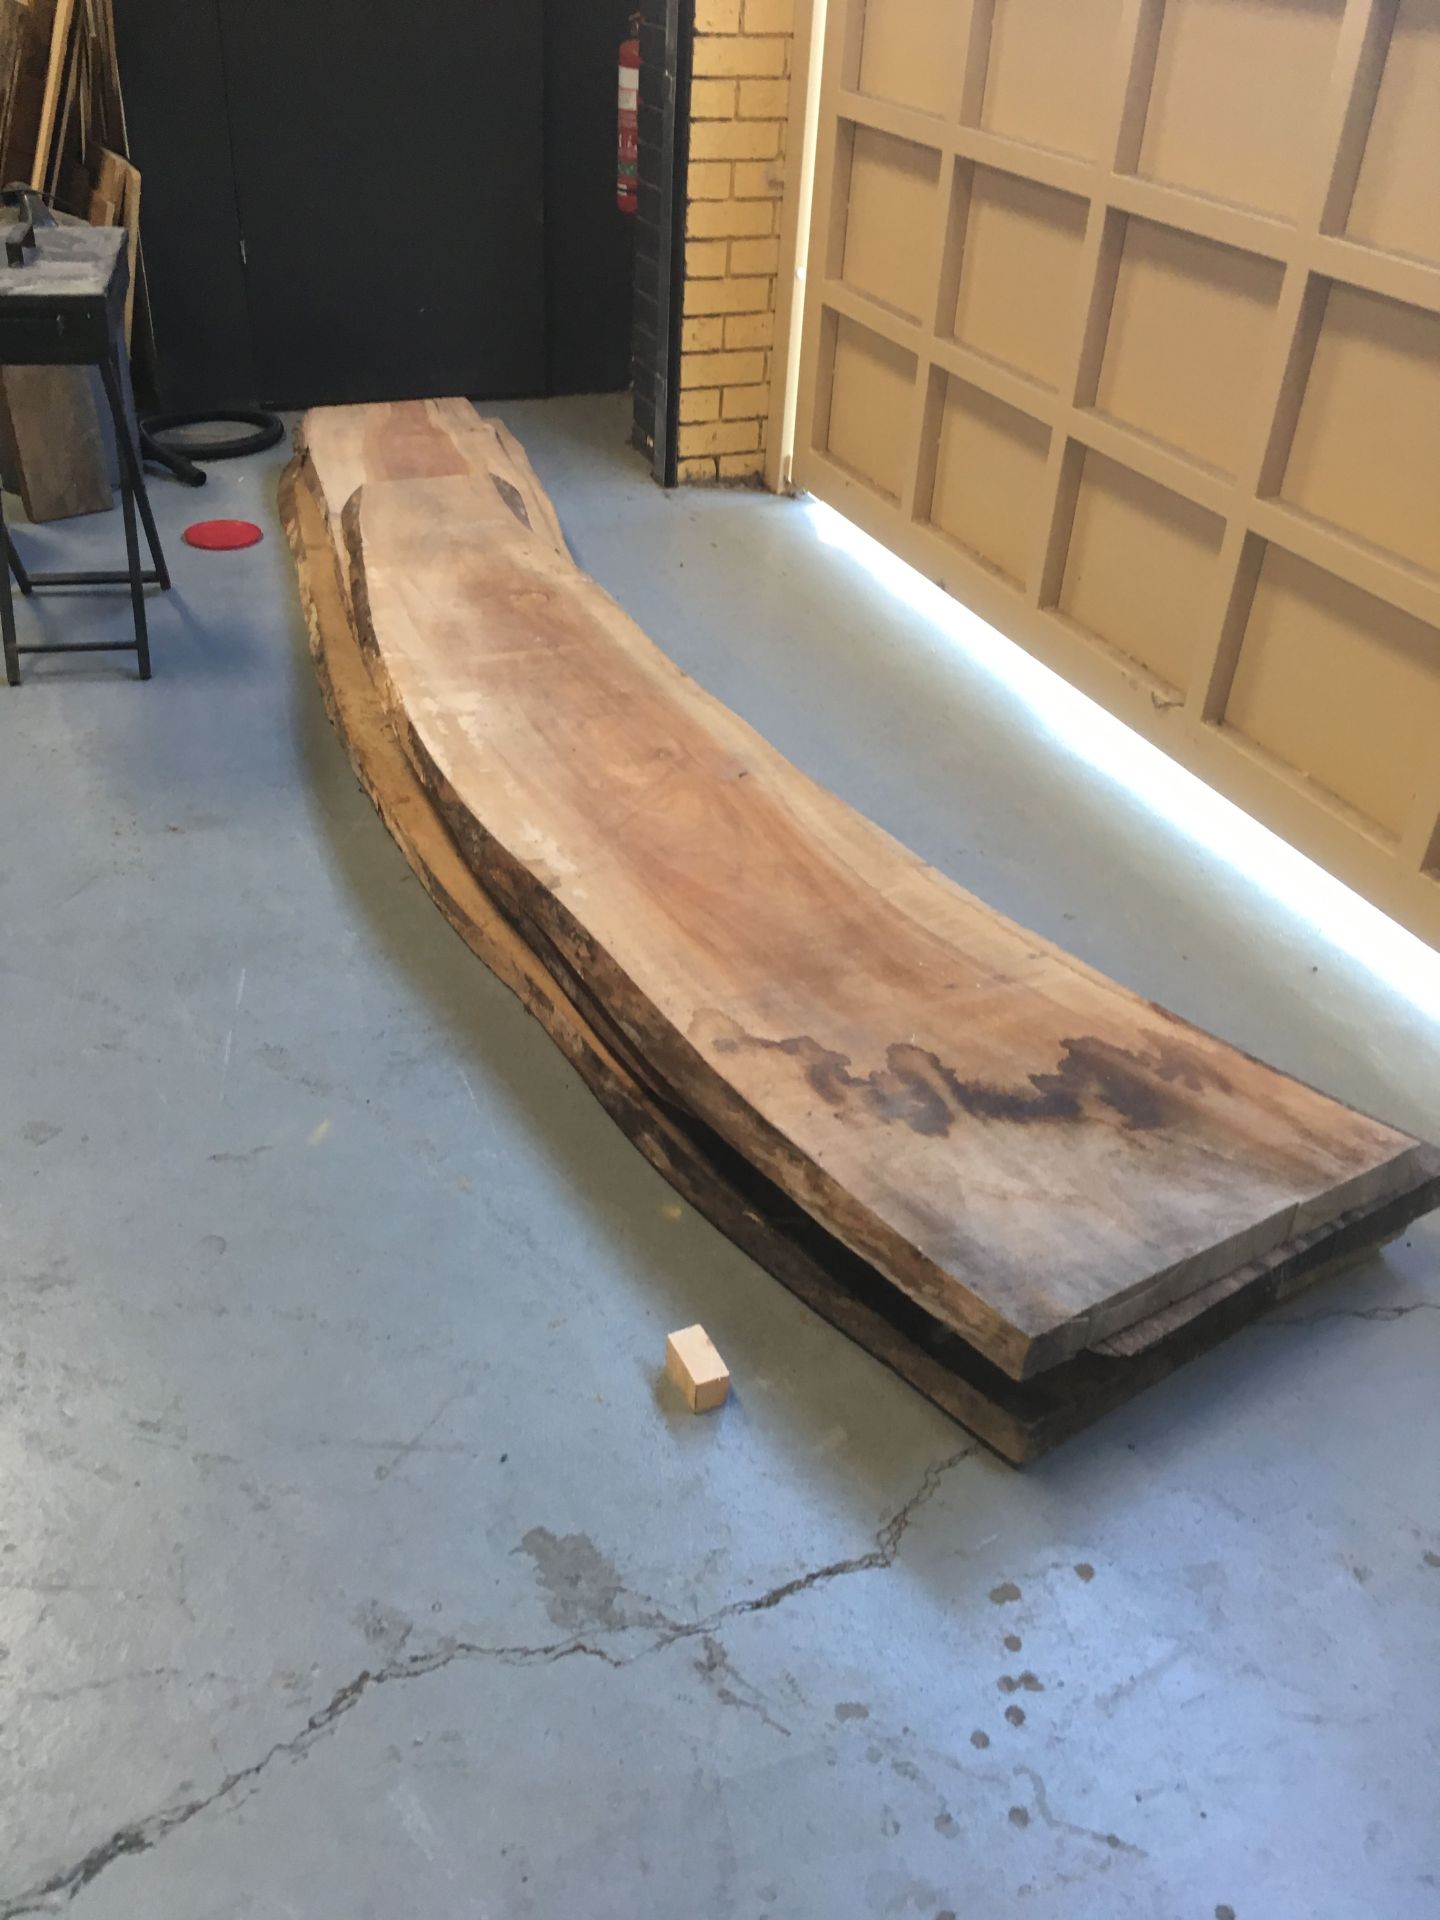
I use my Festool Track saw to break down the slab into manageable bits. The slab thickness is 50mm. I didn't take the cut in one pass, I clamped down the track down with the clamps and cut the 50mm over 3 passes. I love my track saw and wonder how I ever did without it.
When you're using the Festool Track Saw, you really should over hang the track about 200mm on each end of the timber. This track that I am using is too short. It didn't really bother me this time around because I am just rough cutting the wood into smaller more manageable pieces.
 |
 |
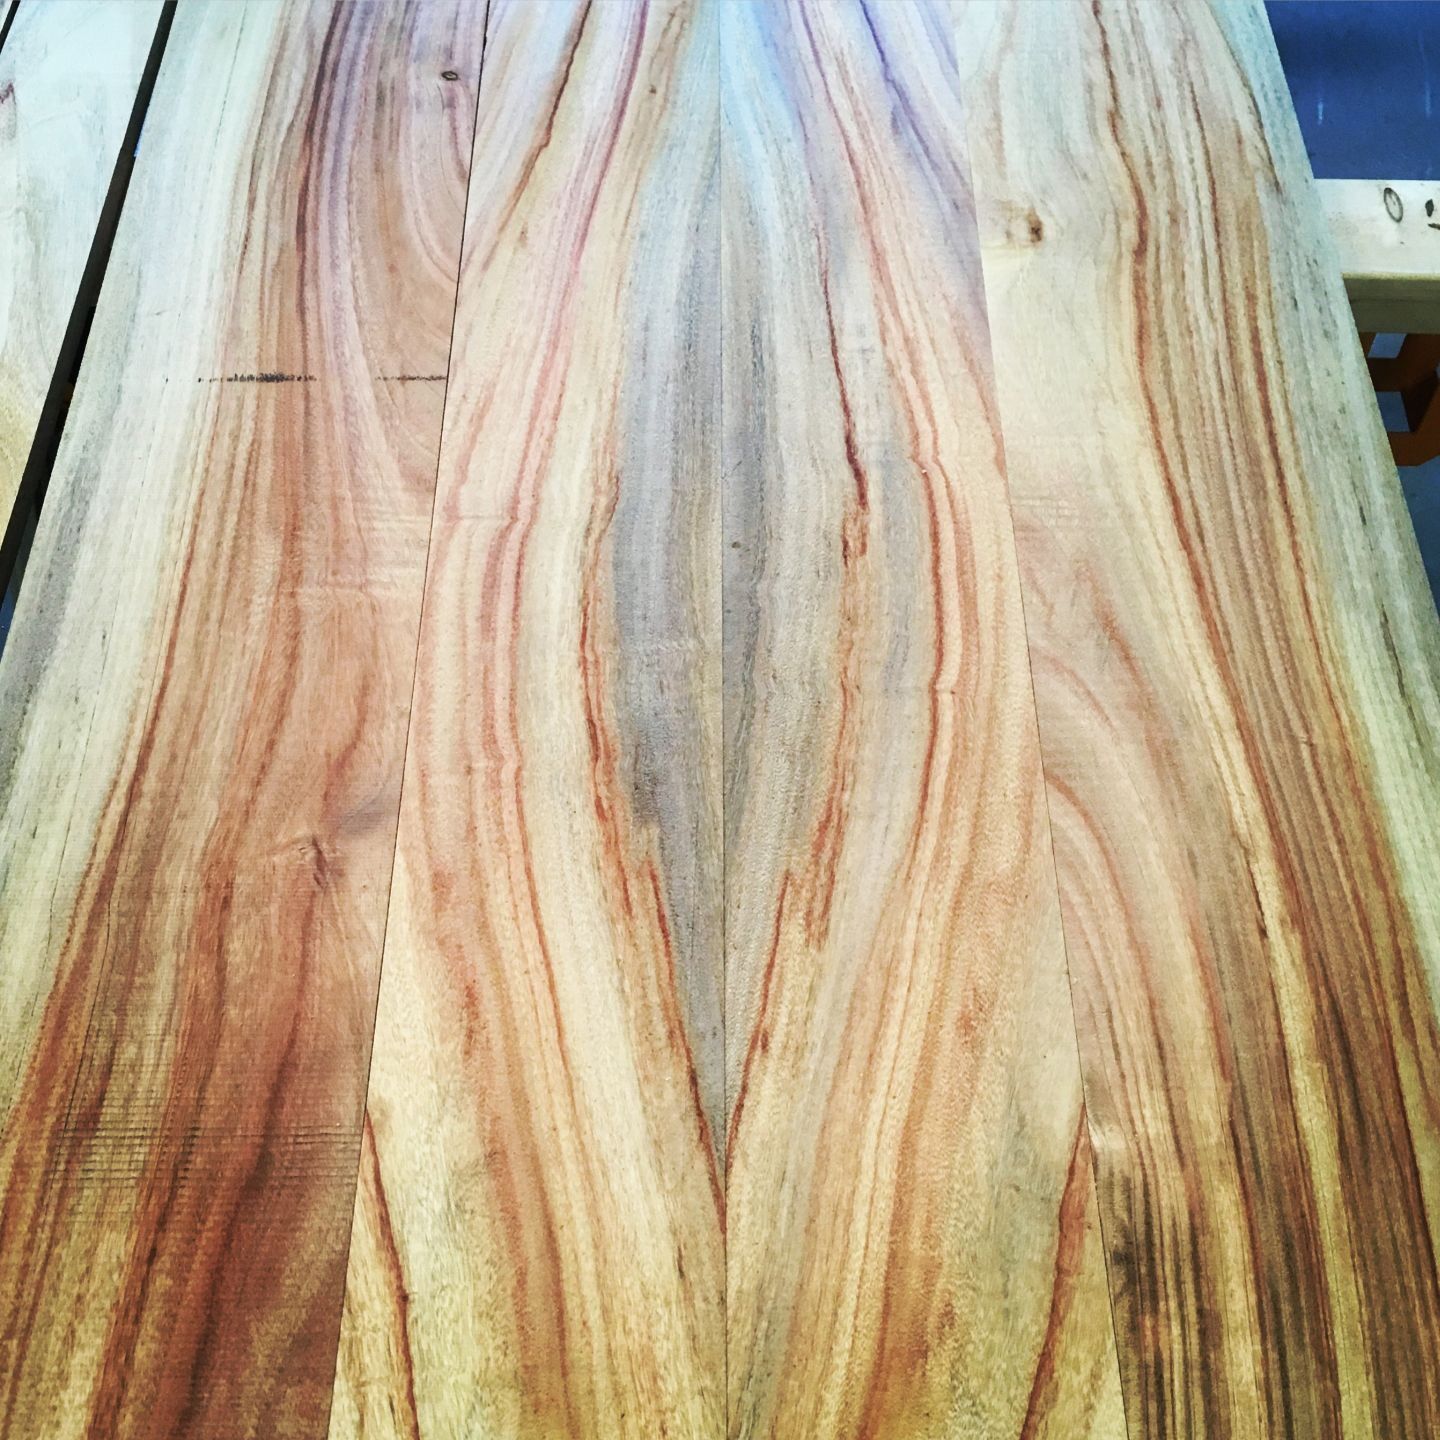 |
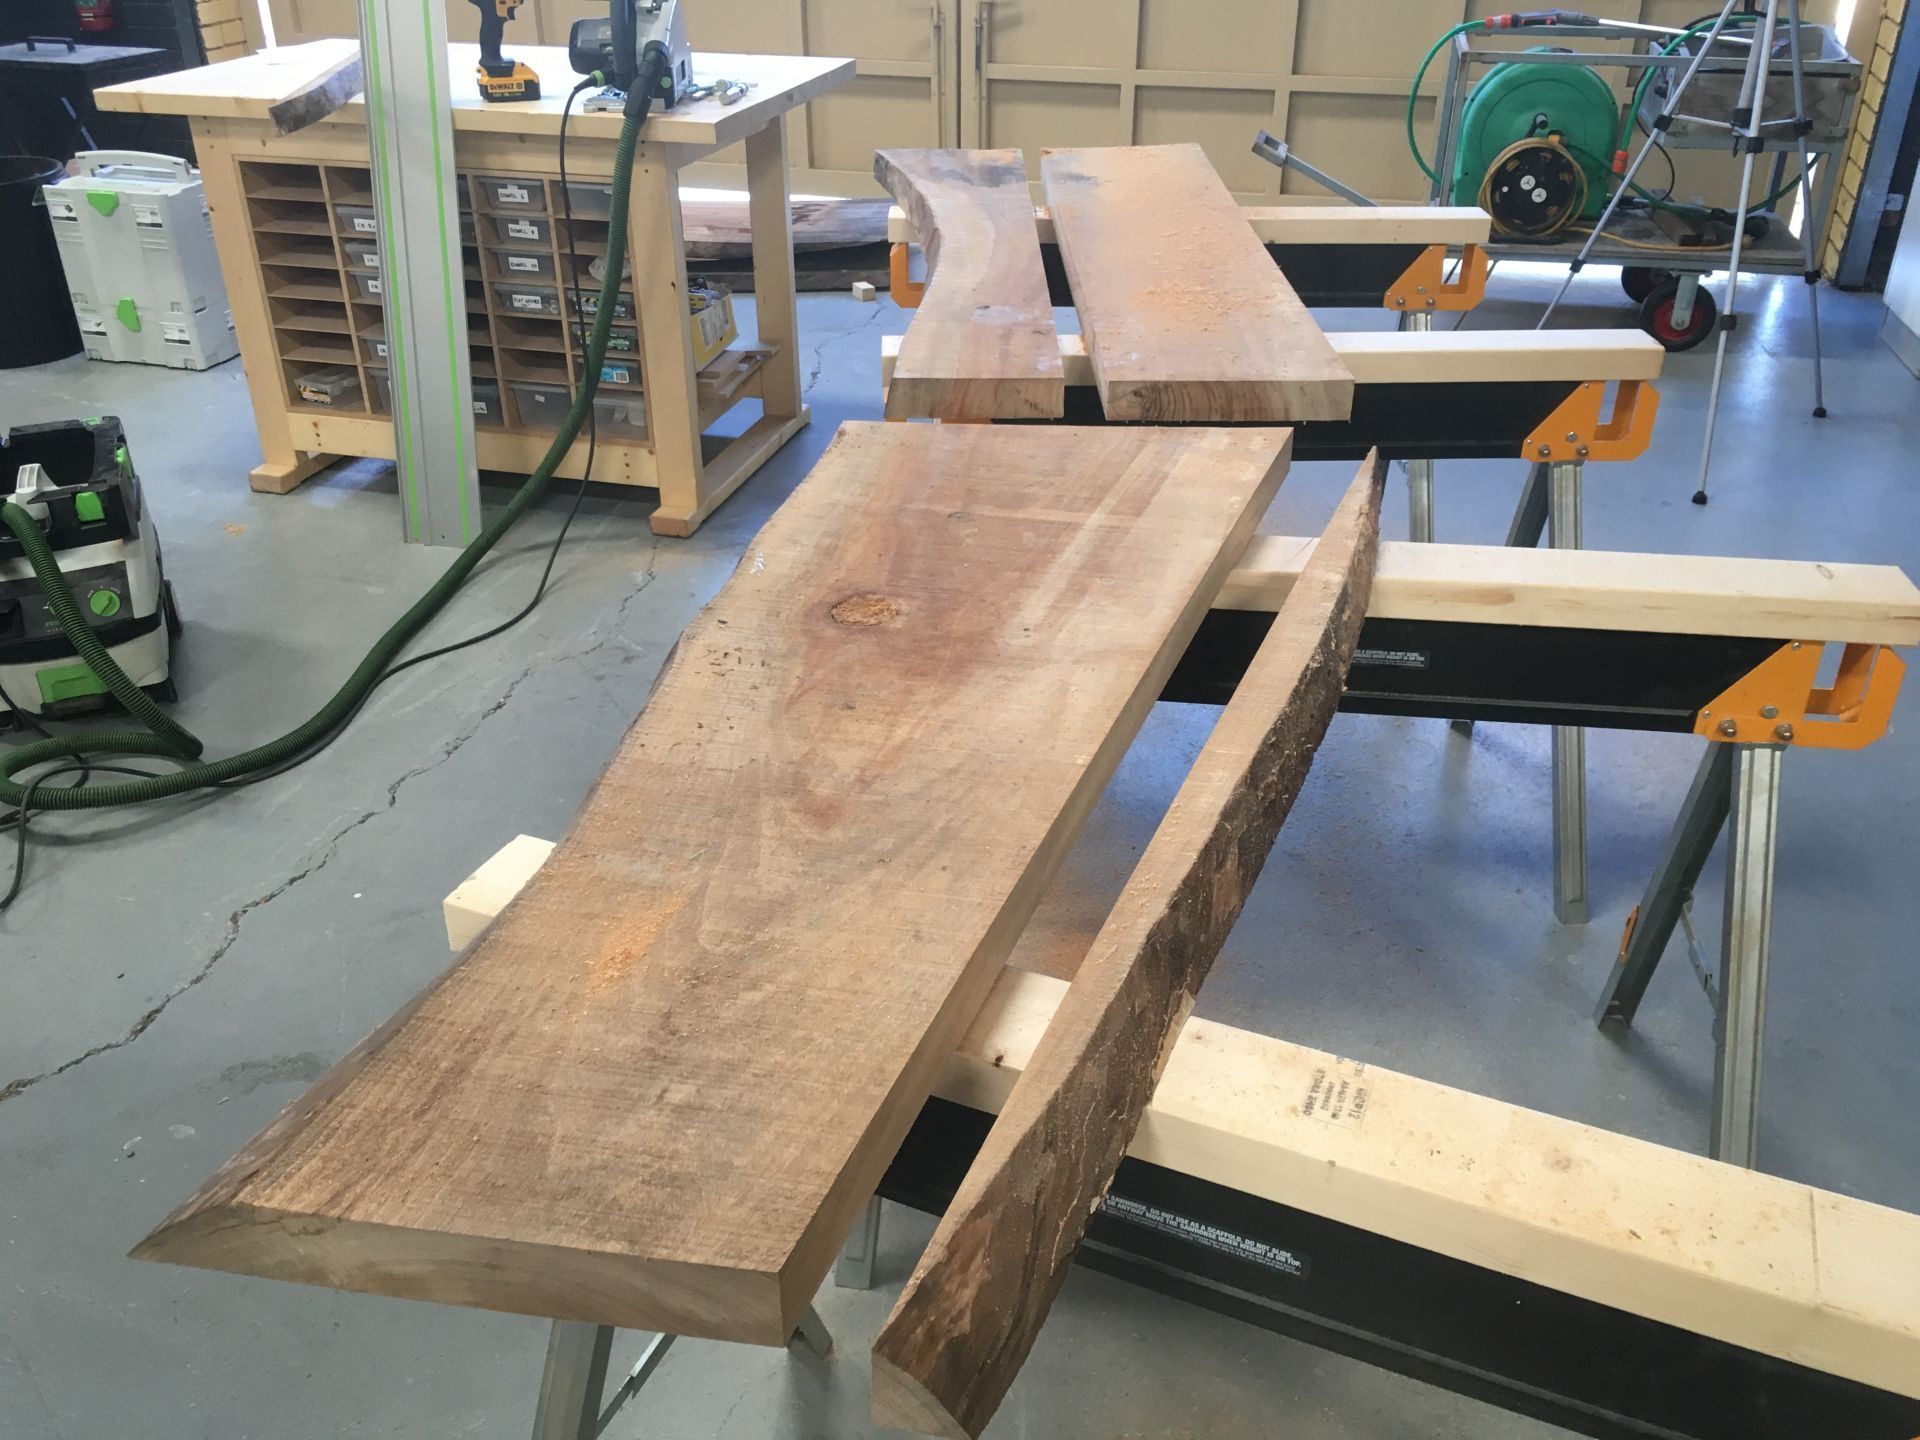
The grain of the Camphor is very very pretty. Lots of blond and red streaks coming through.
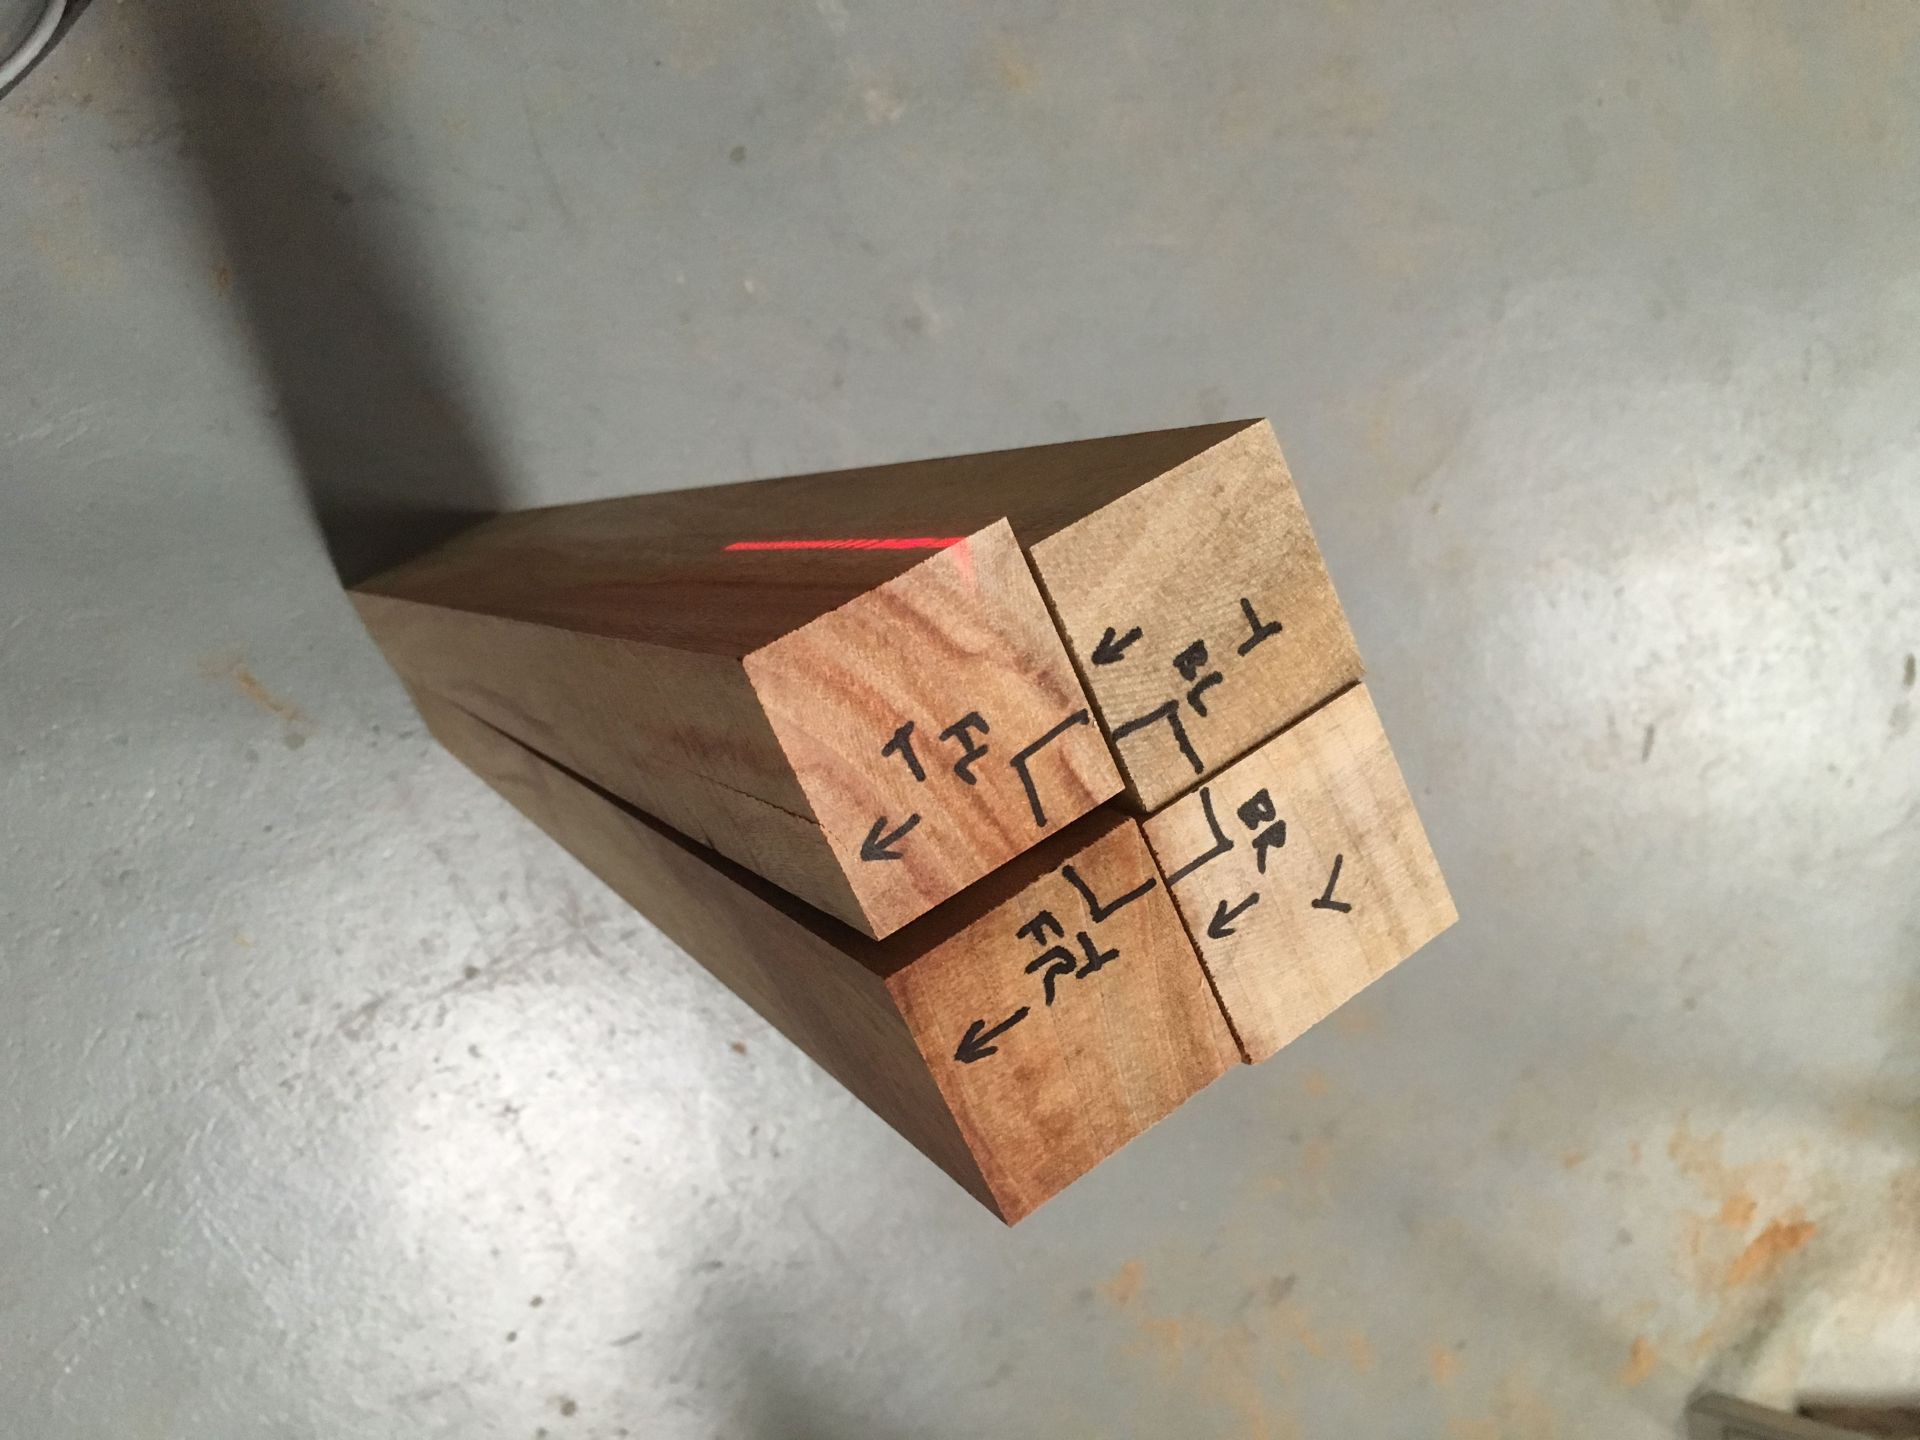
Legs are machined from 50mm x 50mm blanks. They are about 760mm long.
 |
 |
They were tapered down to 25mm squares on the bottom and left as 48mm square on the top. I used a loose tenon to hold it all together. Festool Domino was a quick and easy way to get it all connected. Had I done it the traditional way, it would of taken me a half a day to get it all measured and cut. With the Festool Domino, it only took me about 20 minutes to work it all out and cut it all out.
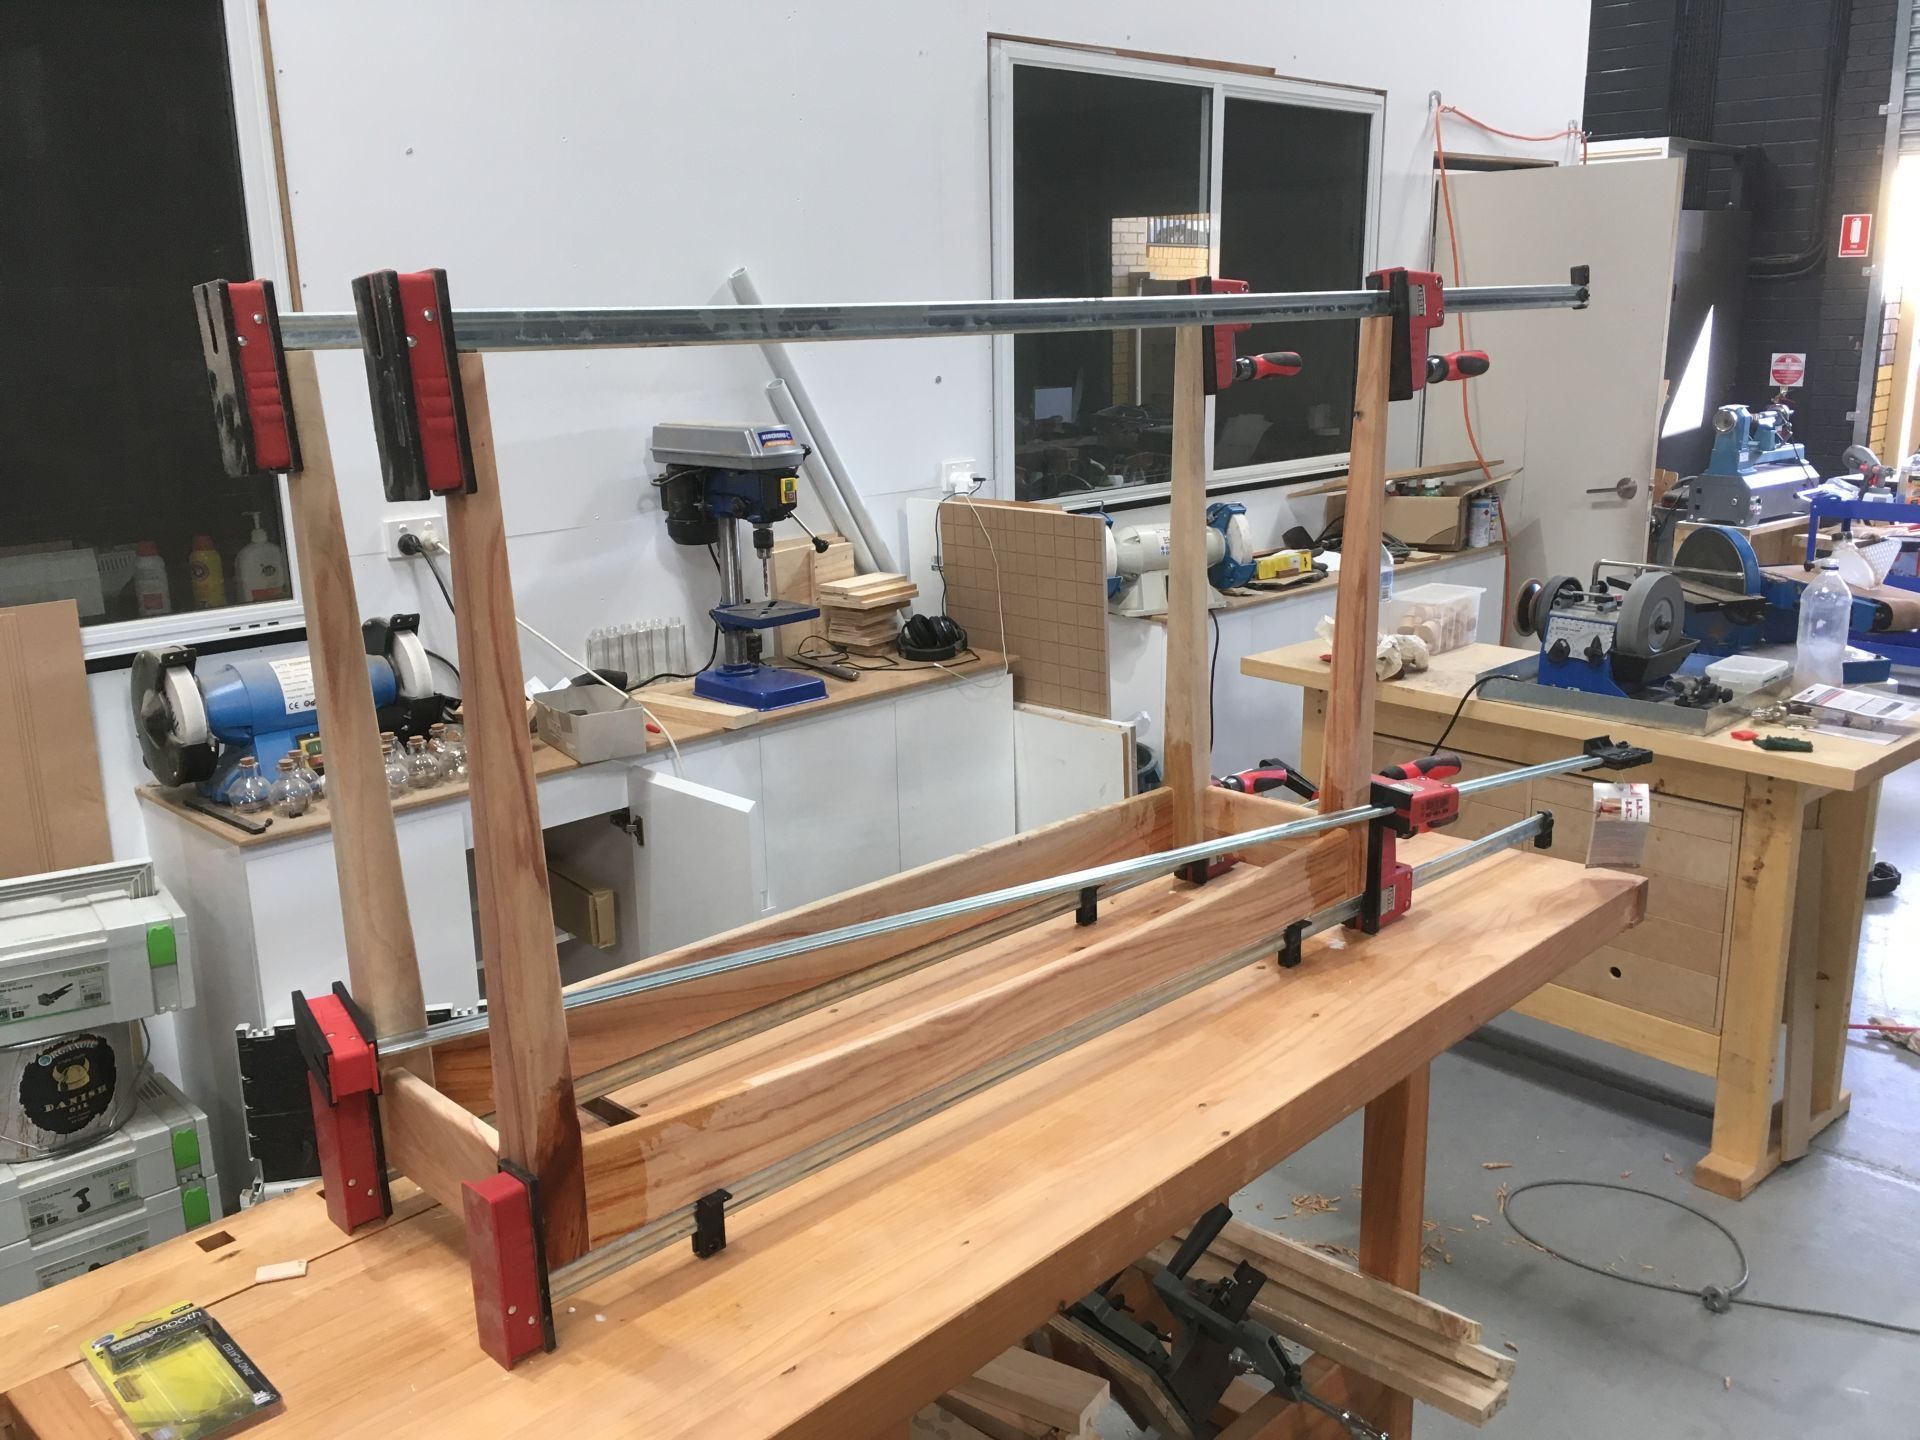
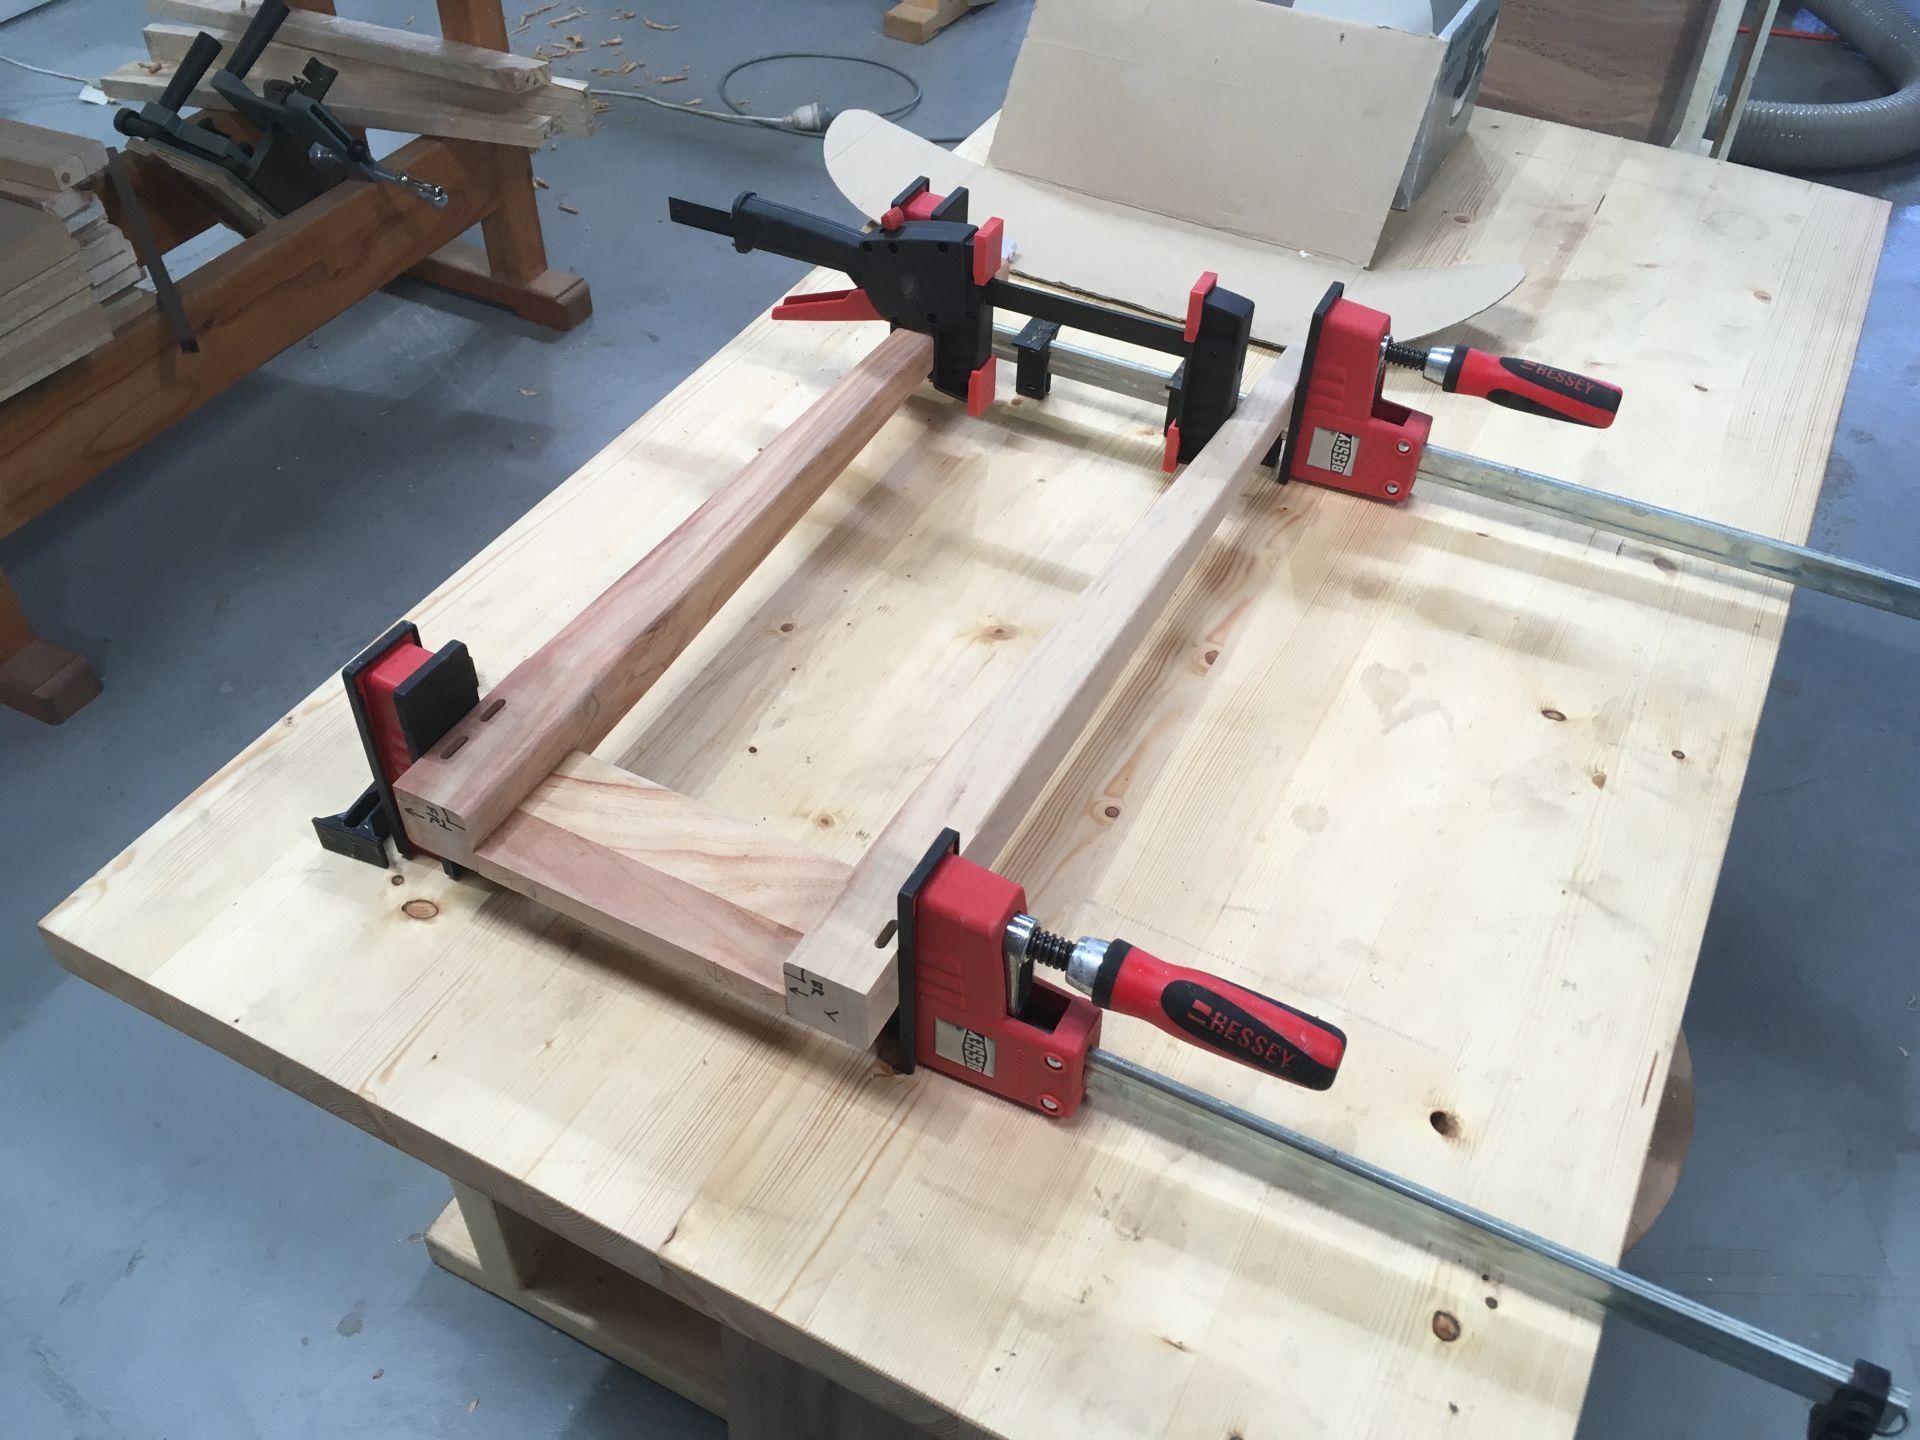
I gave all the components a good sand to 240 grit before I glued all the pieces together. I will go back and give everything a hand sand to 400 girt after the glue has set. Sanding is really the worst part of making furniture, I hate sanding.
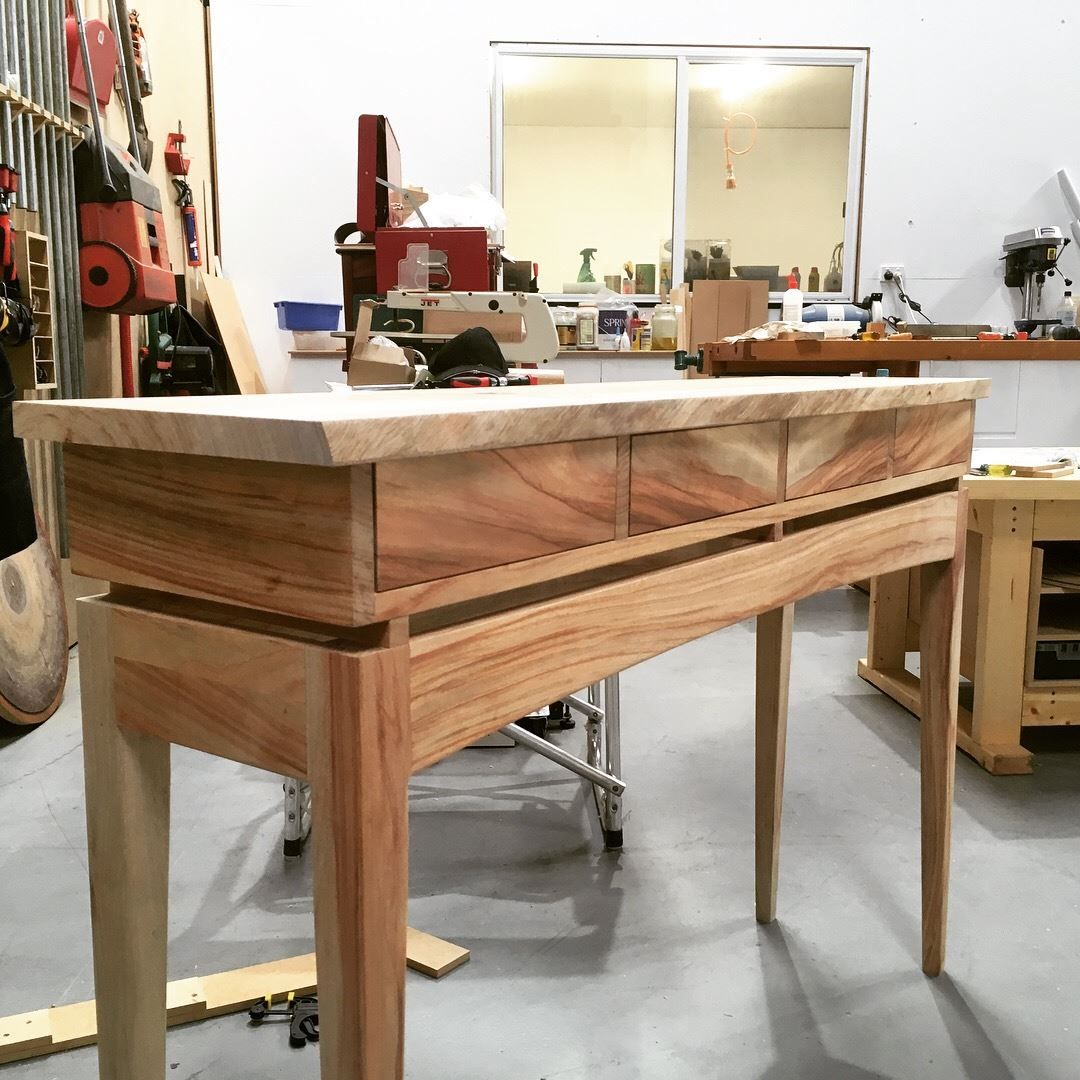
You can see in this photo the front apron has an arc or radius cut into it. I didn't bother with doing the same for the back, you don't see it when the furniture is in place against a wall so I didn't bother wasting the few extra minutes to get the back the same as the front of the cabinet.
To get to this point, it has taken me about 6 hours. Its pretty quick when you come to think about it.
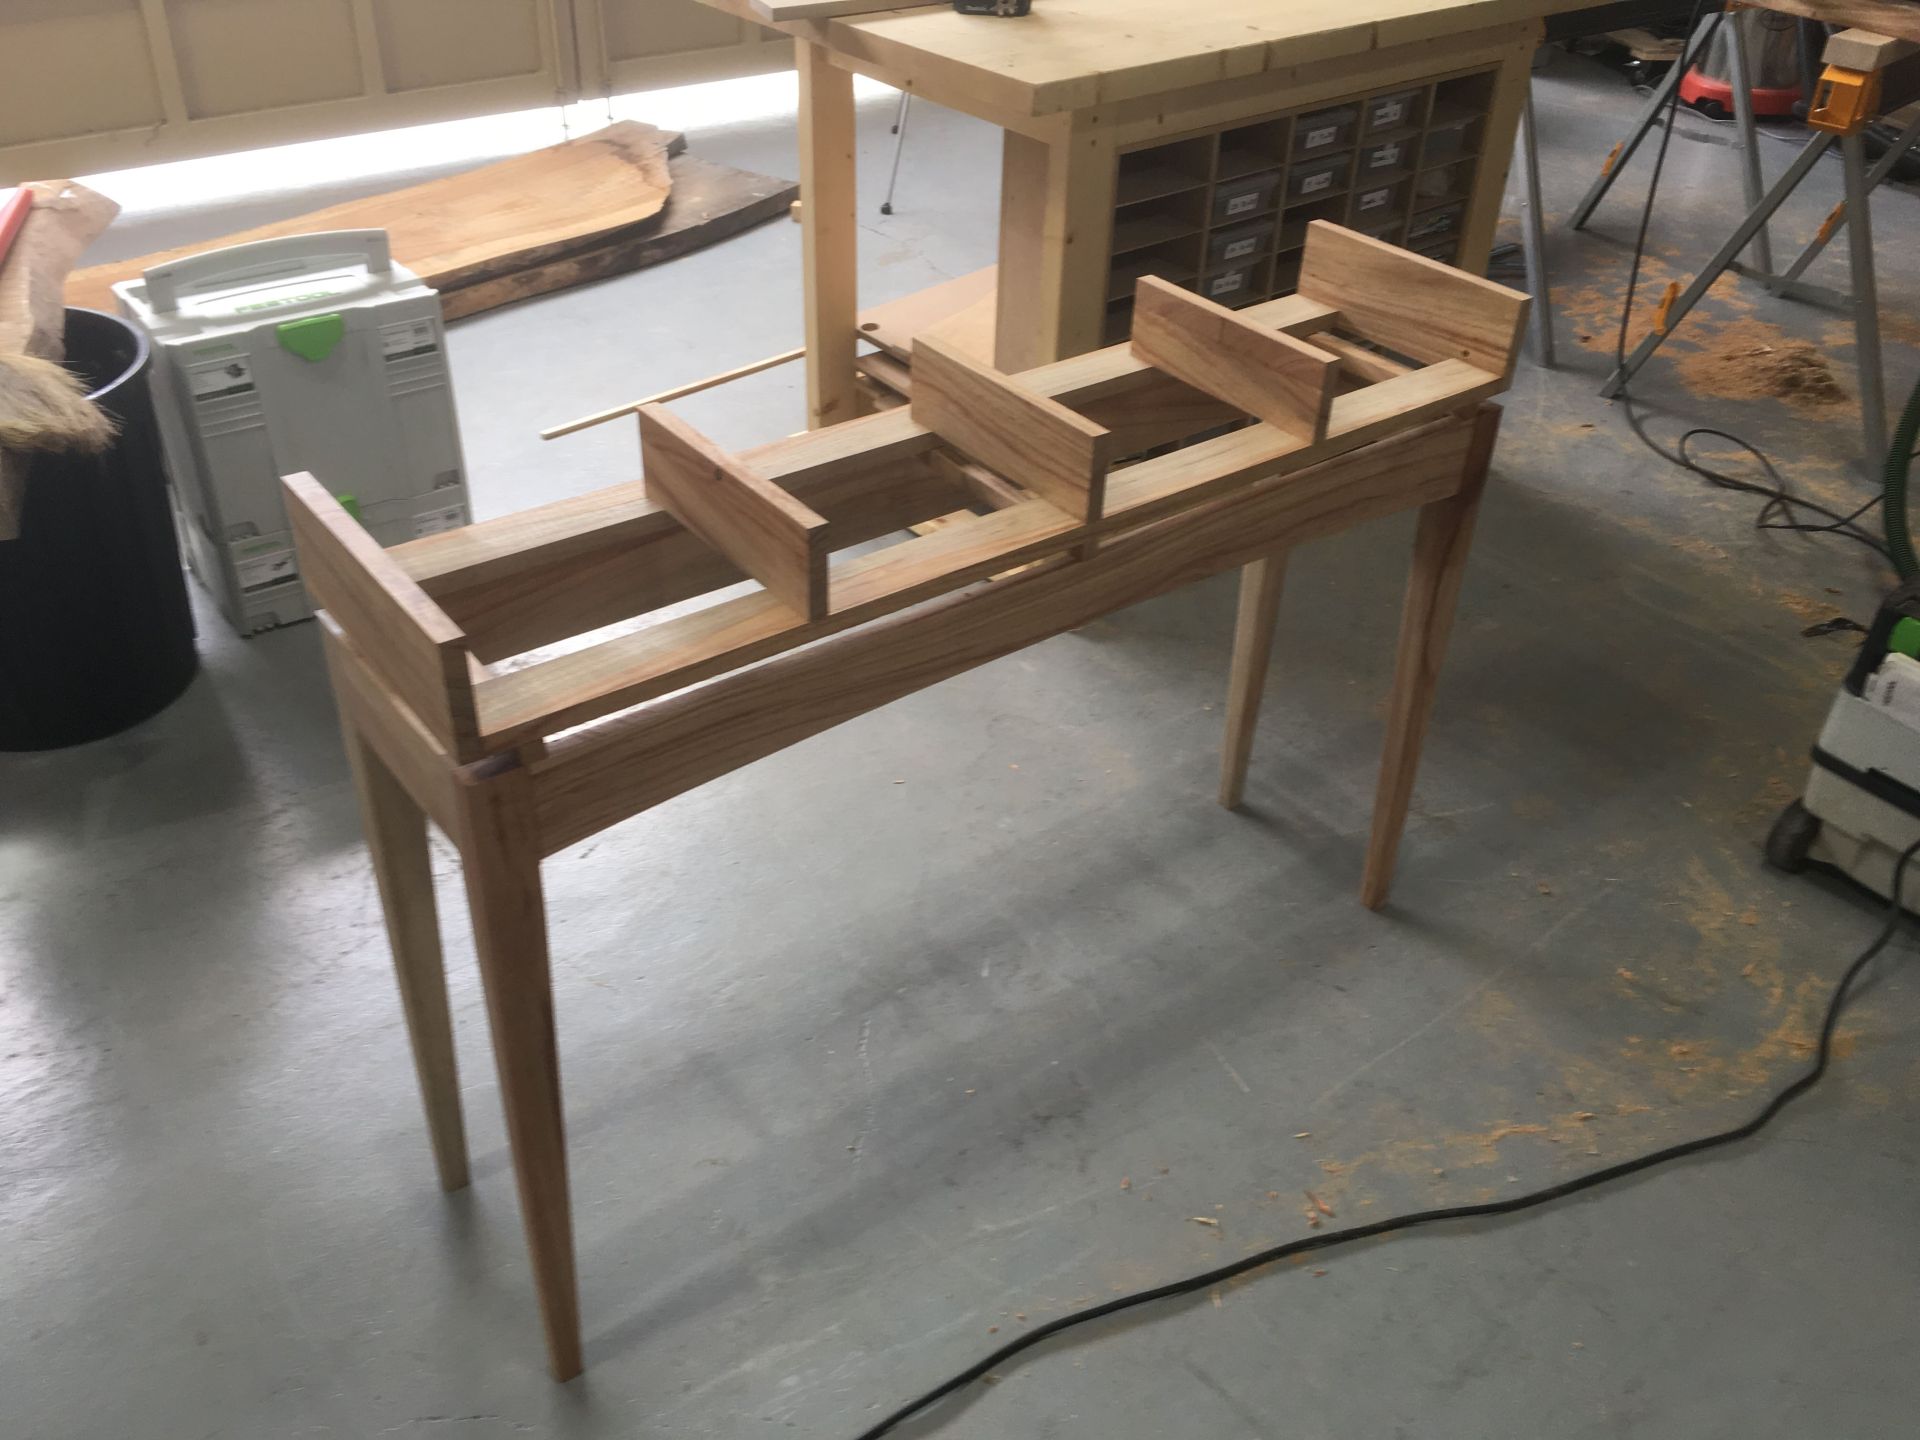
This photo is the cabinet upright with the box to hold the draws taking shape. I know your not suppose to use screws in fine woodworking (other than fixing hinges), but I just wanted to get this cabinet done quick so I resorted to use screws to hold the piece together until the glue dries.
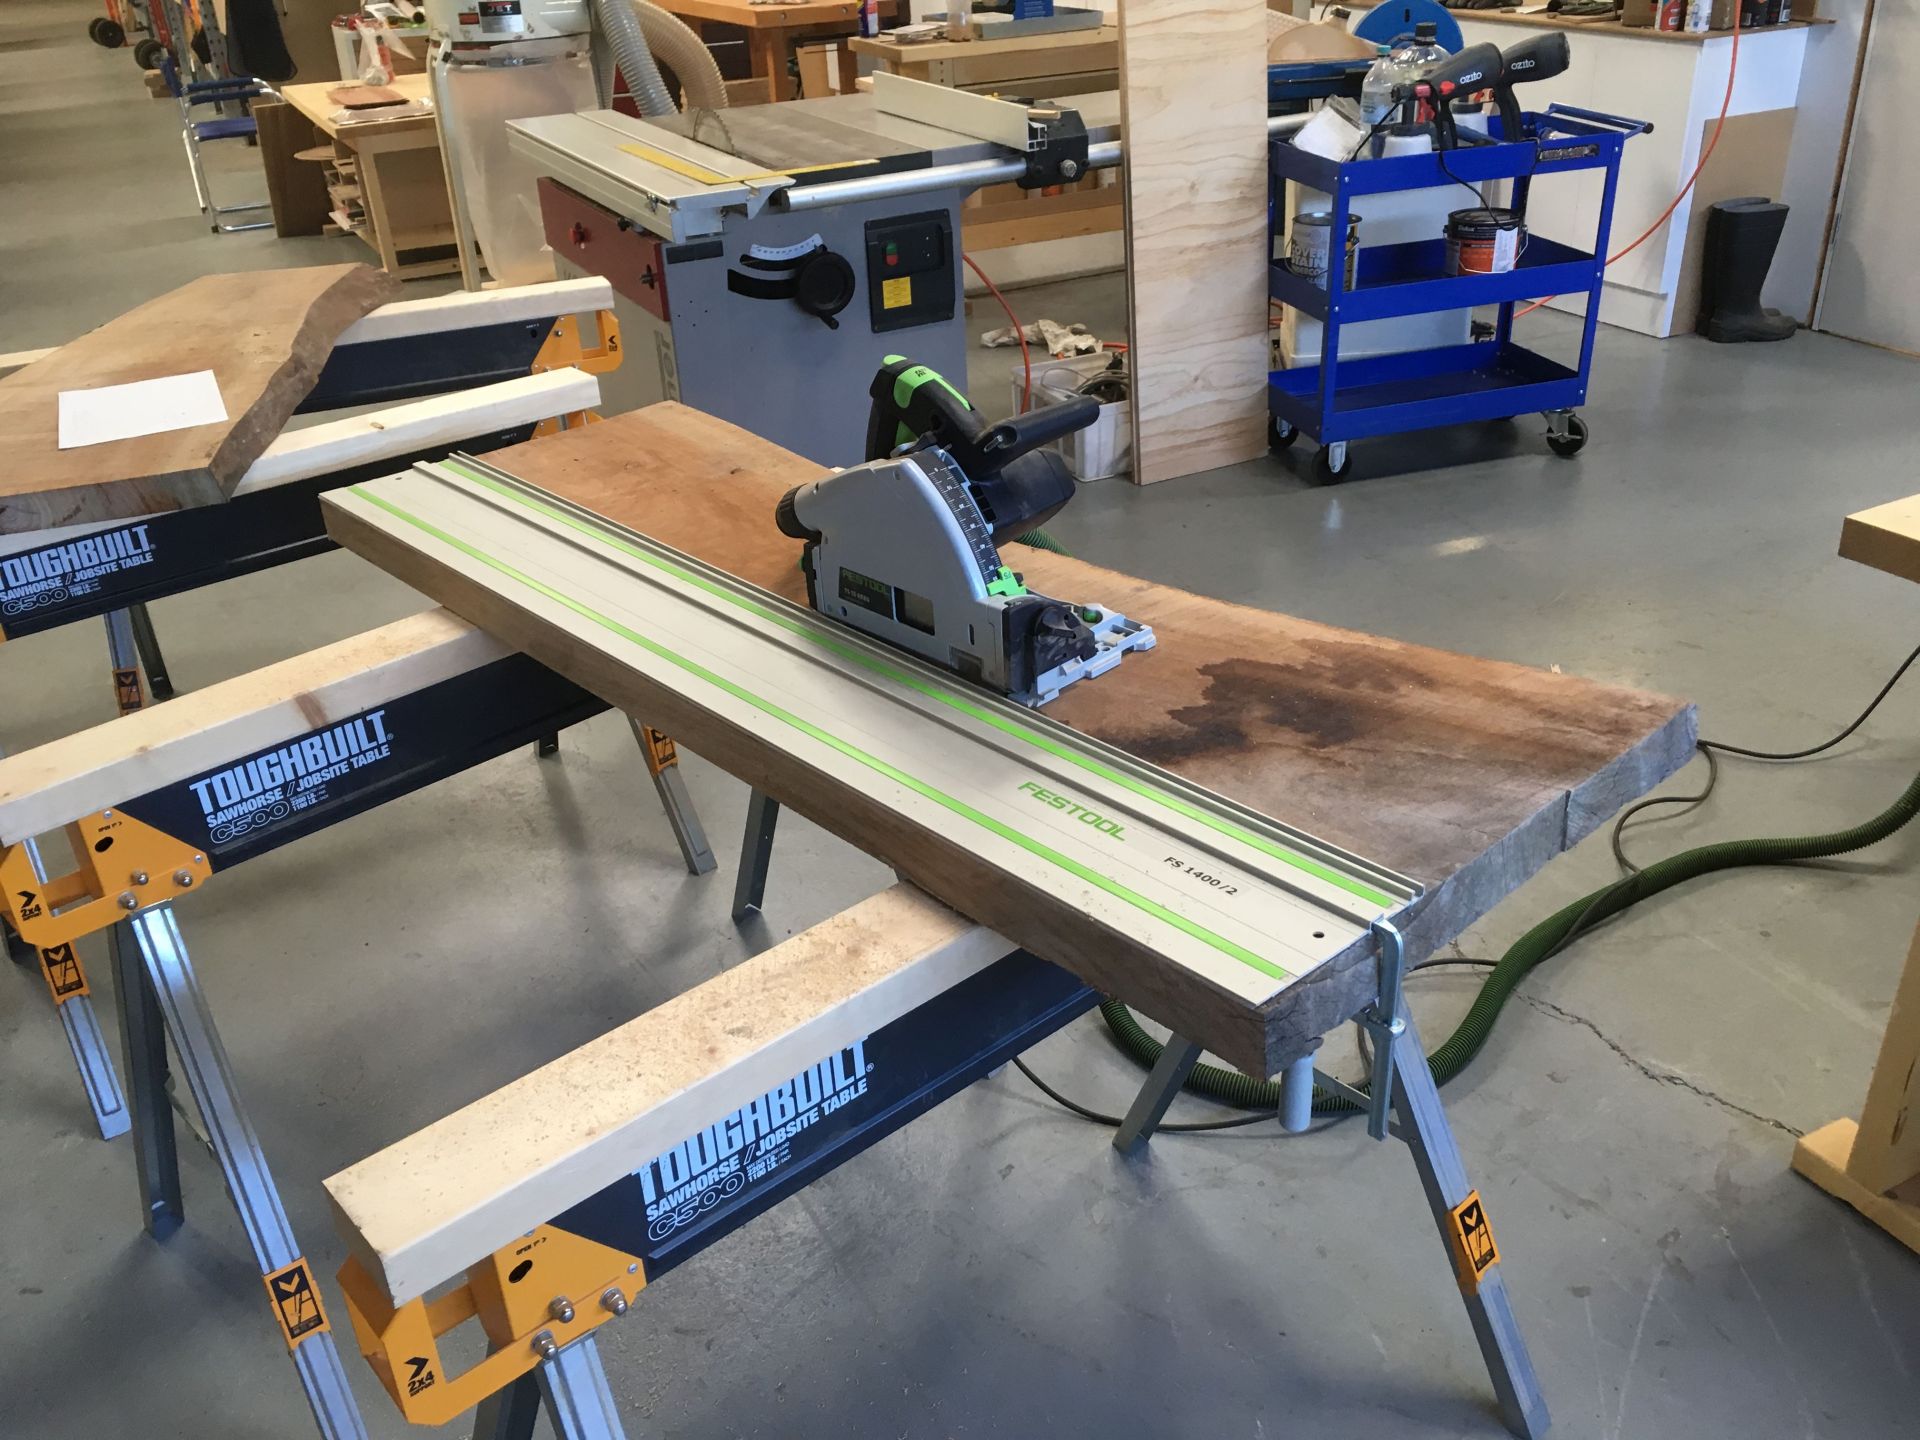
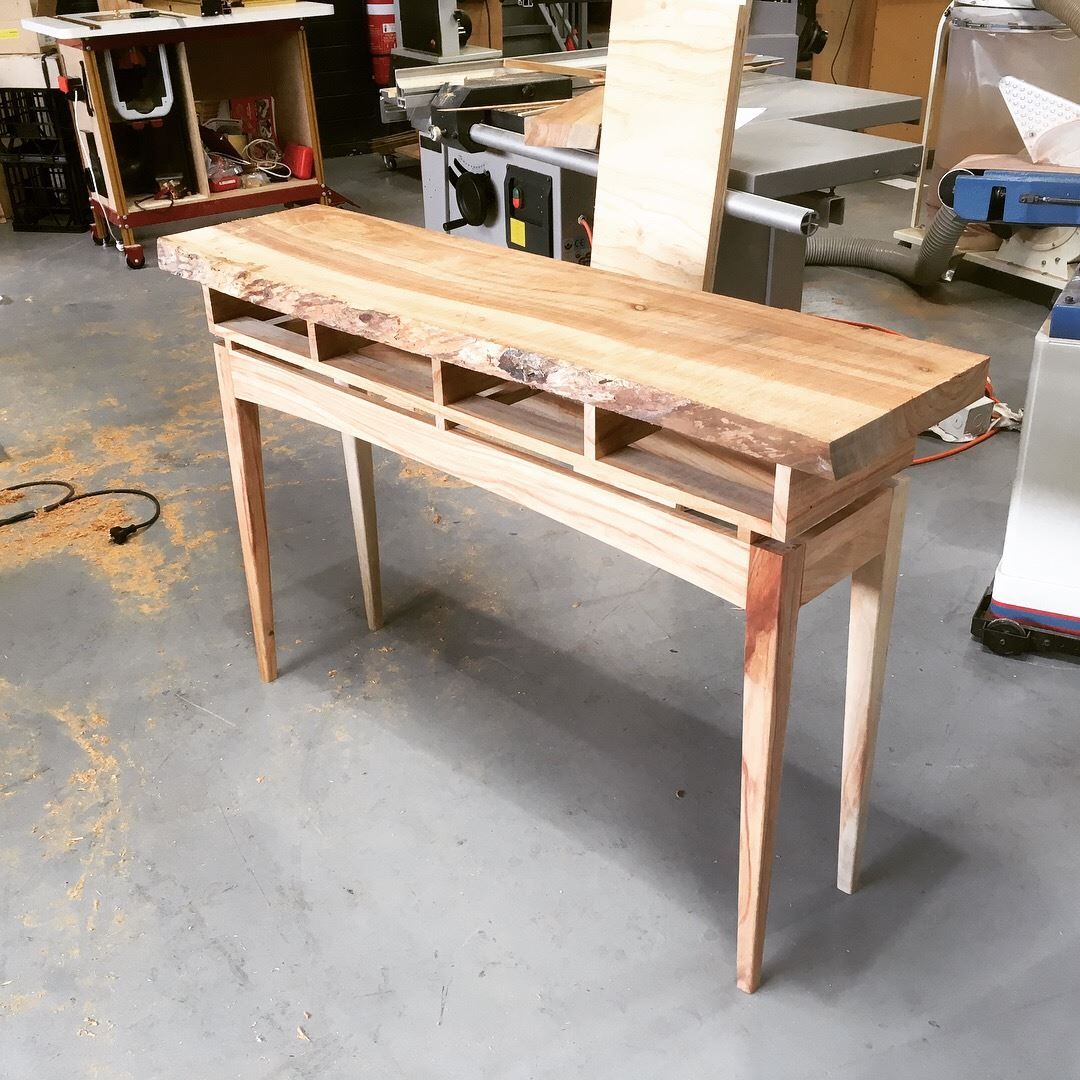
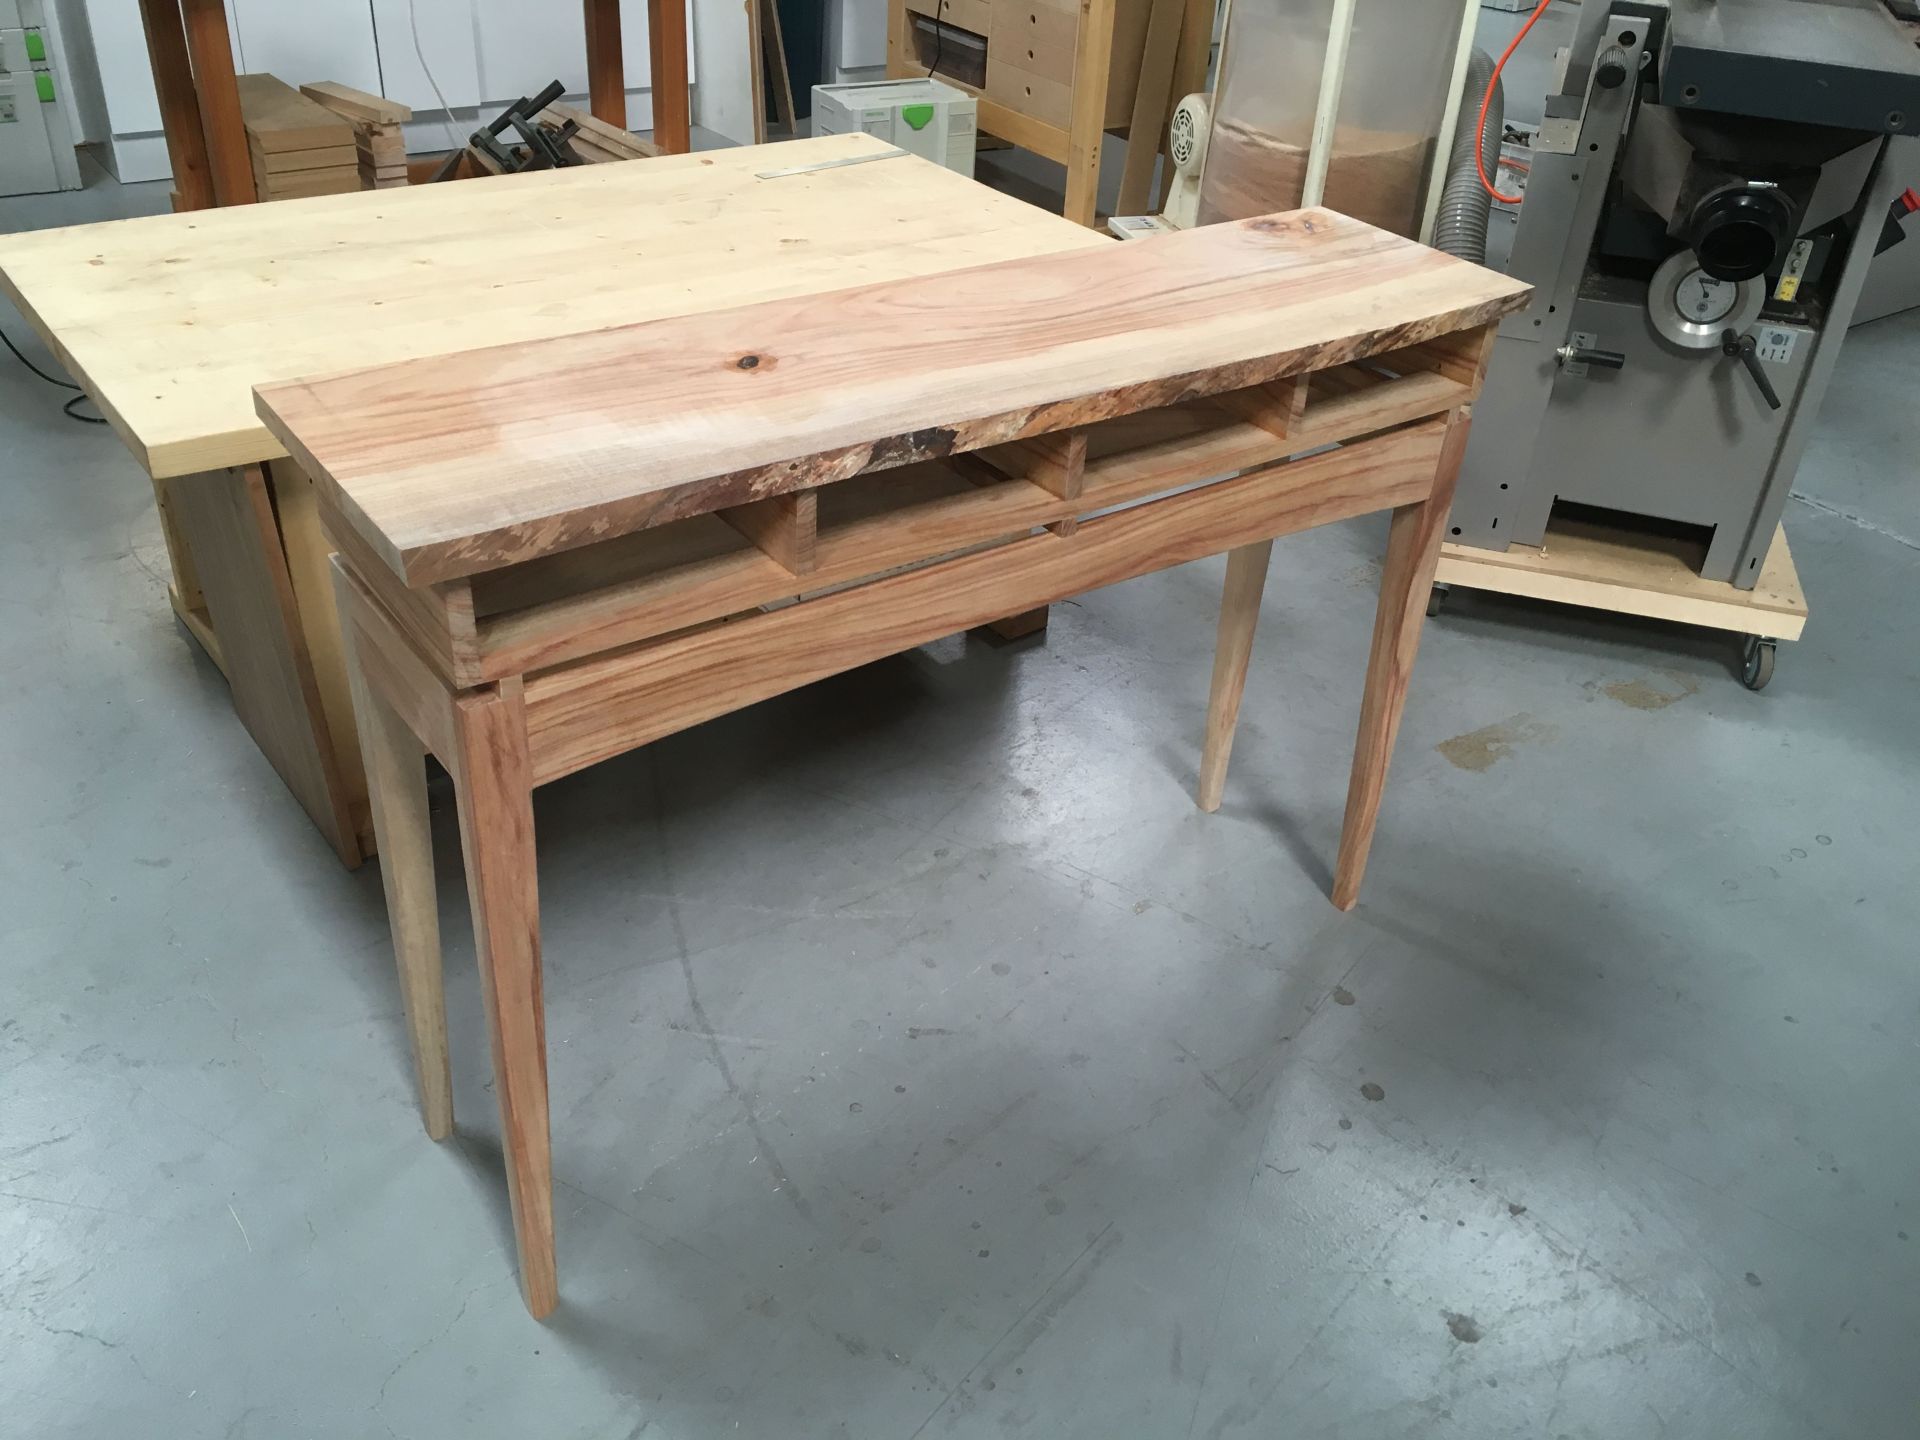
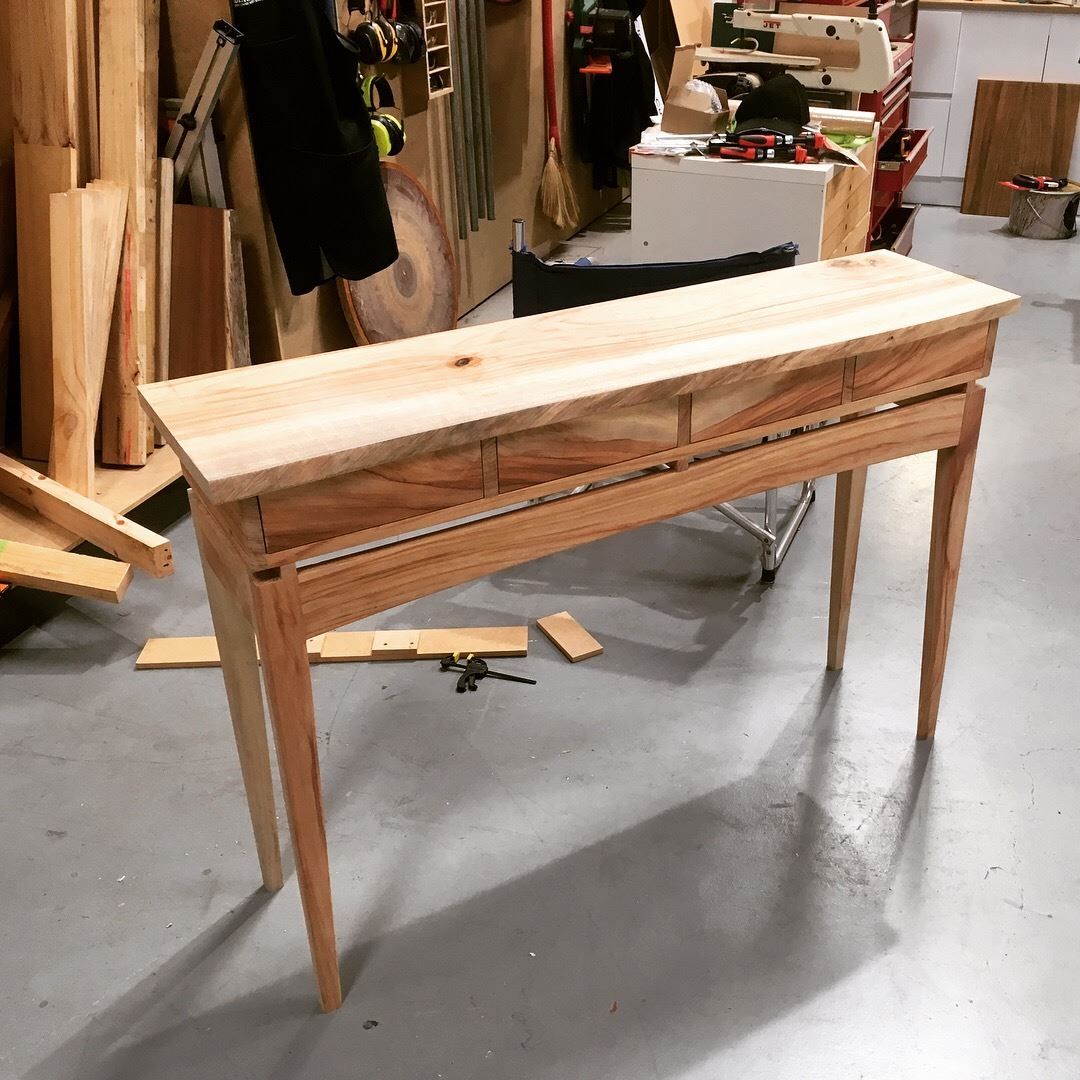
The next step of the process was to install a natural edge top onto the cabinet. Here is the cabinet with the top on it. The thickness of the top is currently 50mm (the thickness of the slab). I will need to machine the top down to 25mm. The width of the top is about 350mm but my joiner and thicknesser can only do 305mm wide.
 |
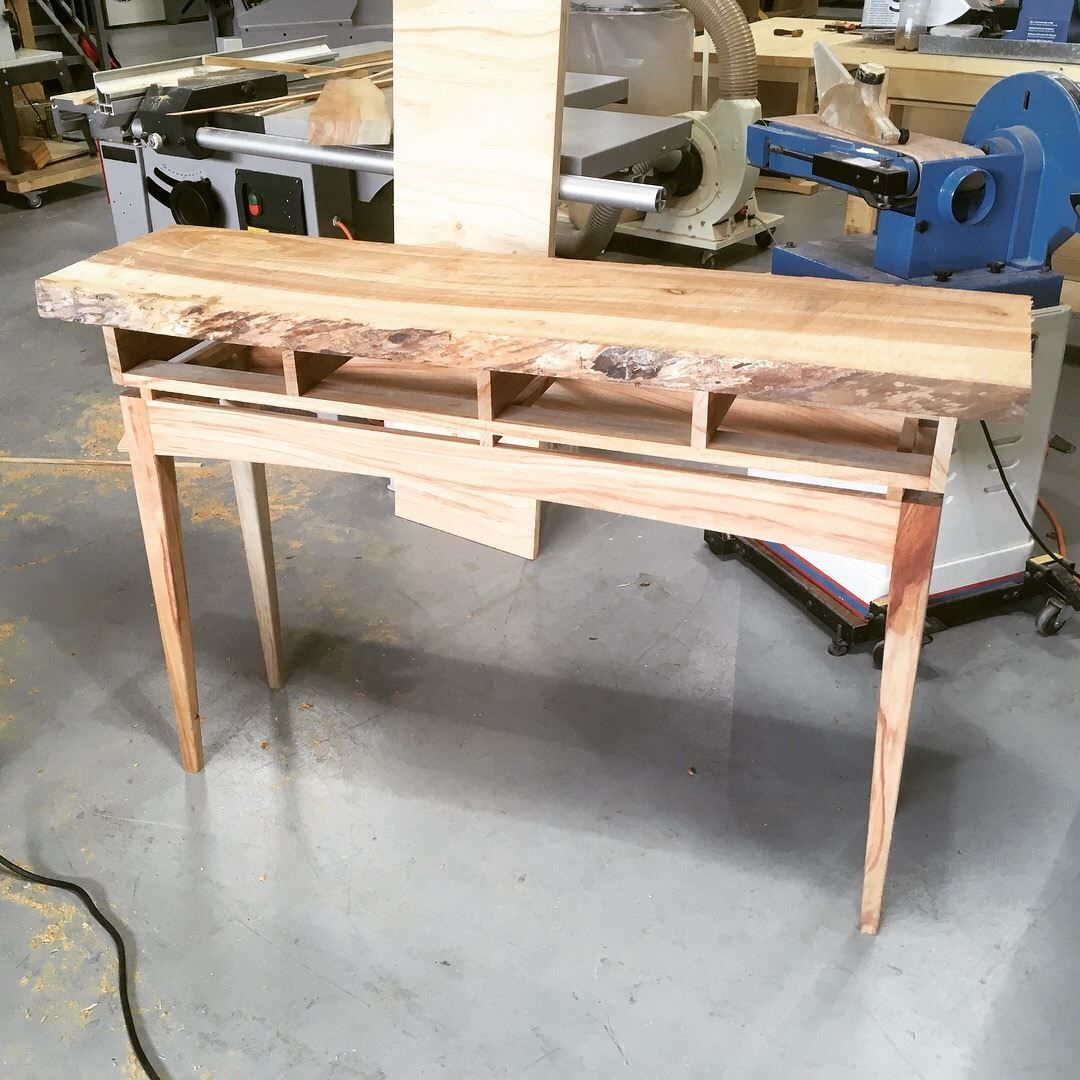 |
I wasn't too keen on cutting the top up into two, reducing the thickness down to 25mm then reconnecting them back together. So rather than doing that, I call up Stuart from Heartwood Creative Woodworking and asked if I could use his machine to size down my slab. I knew he had a 400mm joiner and thicknessner.
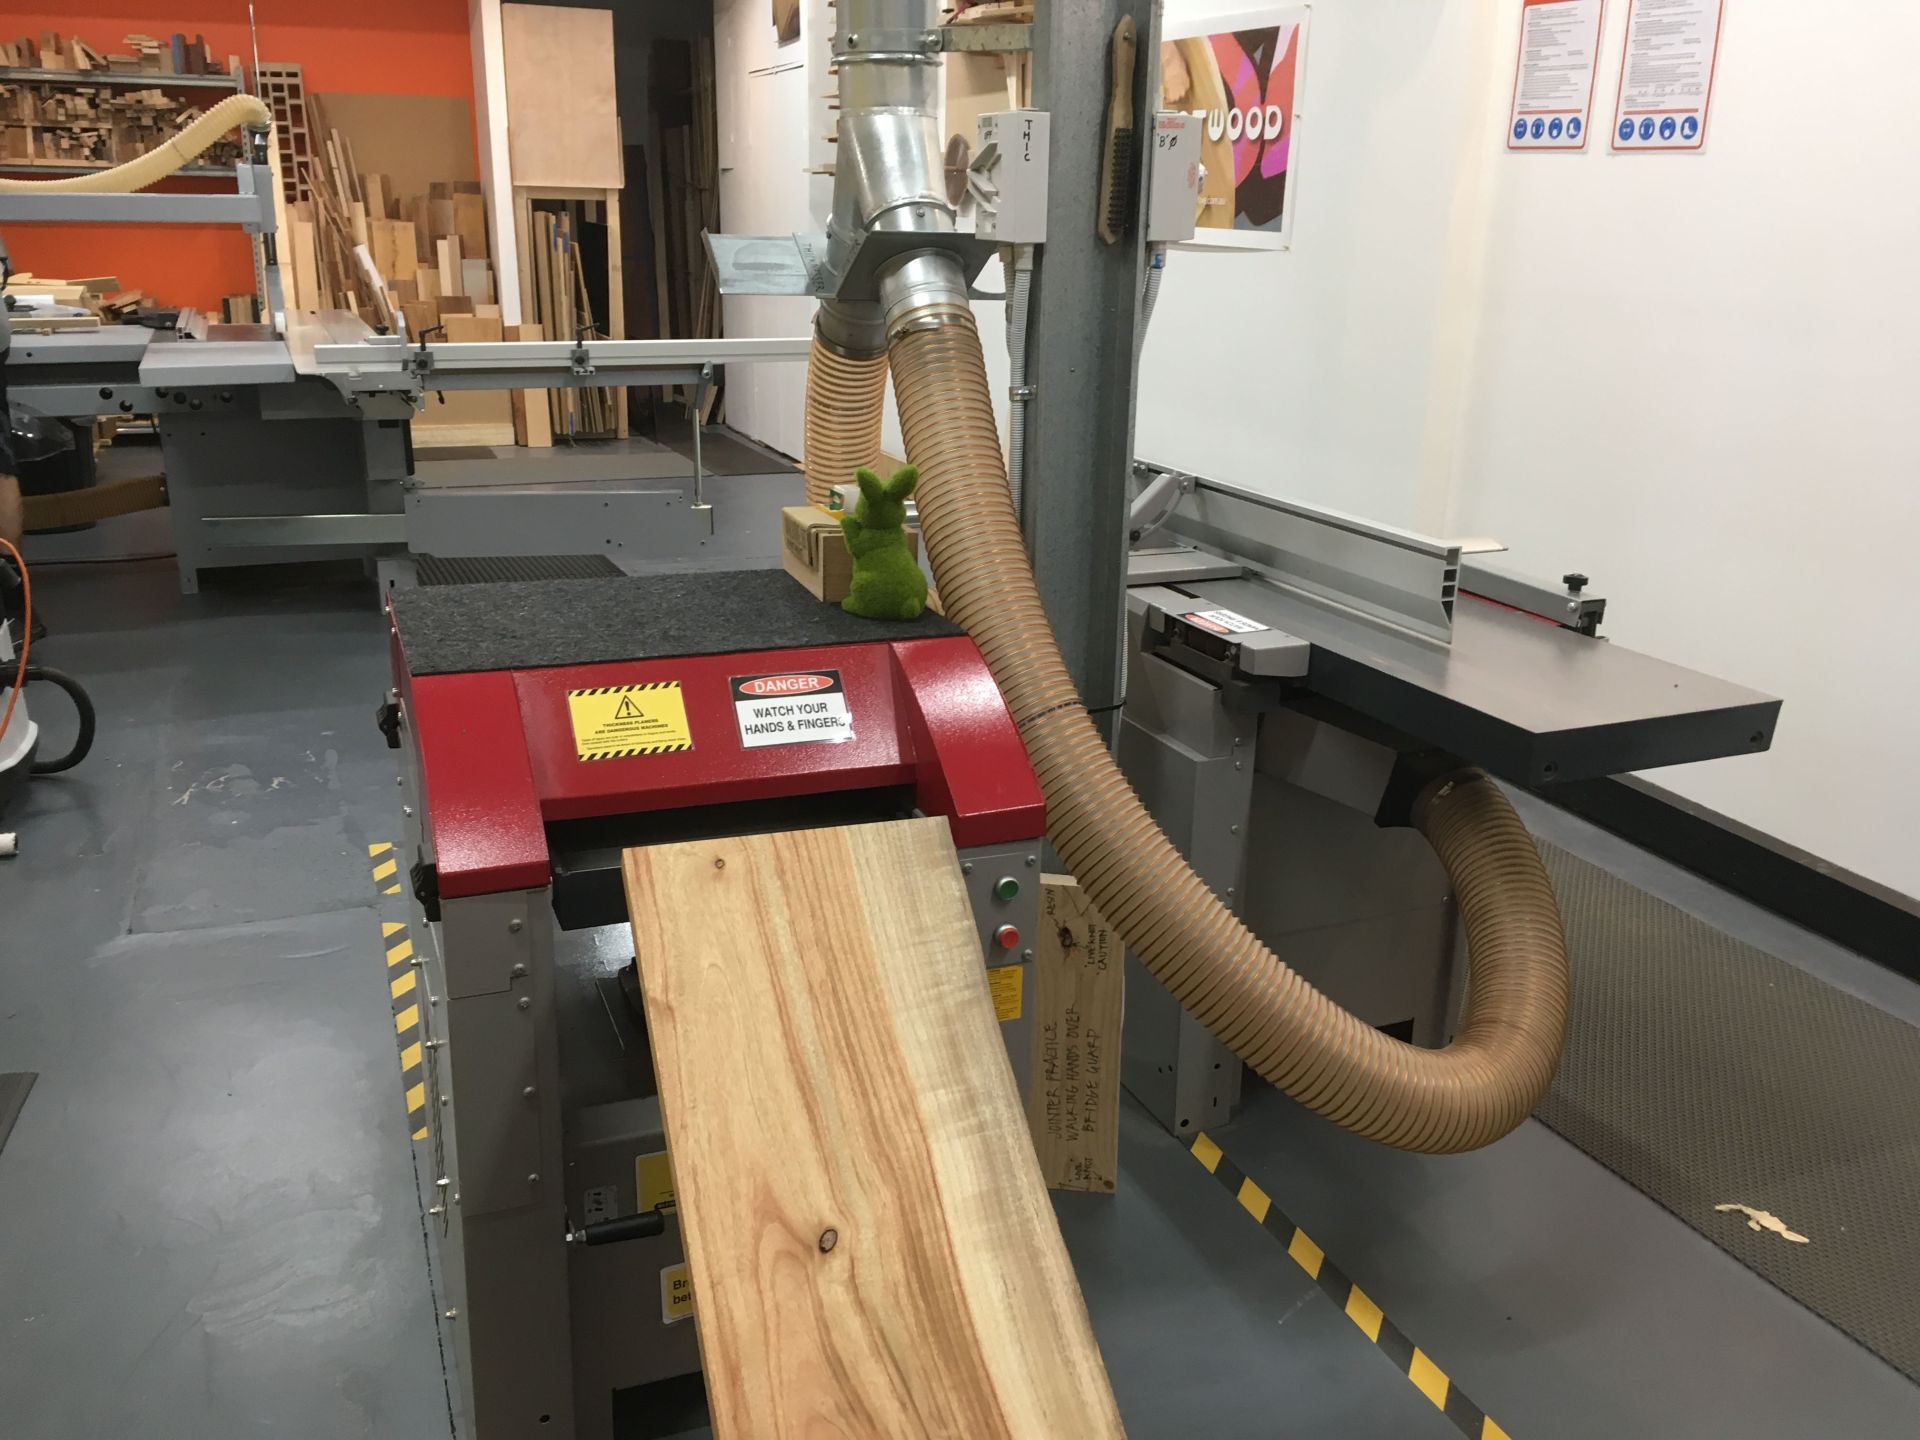
What a marvelous workshop he has. The place was immaculate and all the machines were state of the art. The place was so clean that it looked like a museum. I wonder if I could ever get my workshop that clean and tidy. It only took me about 5 minutes to size the slab down.
This is what the cabinet now looks like with a thinner top on.
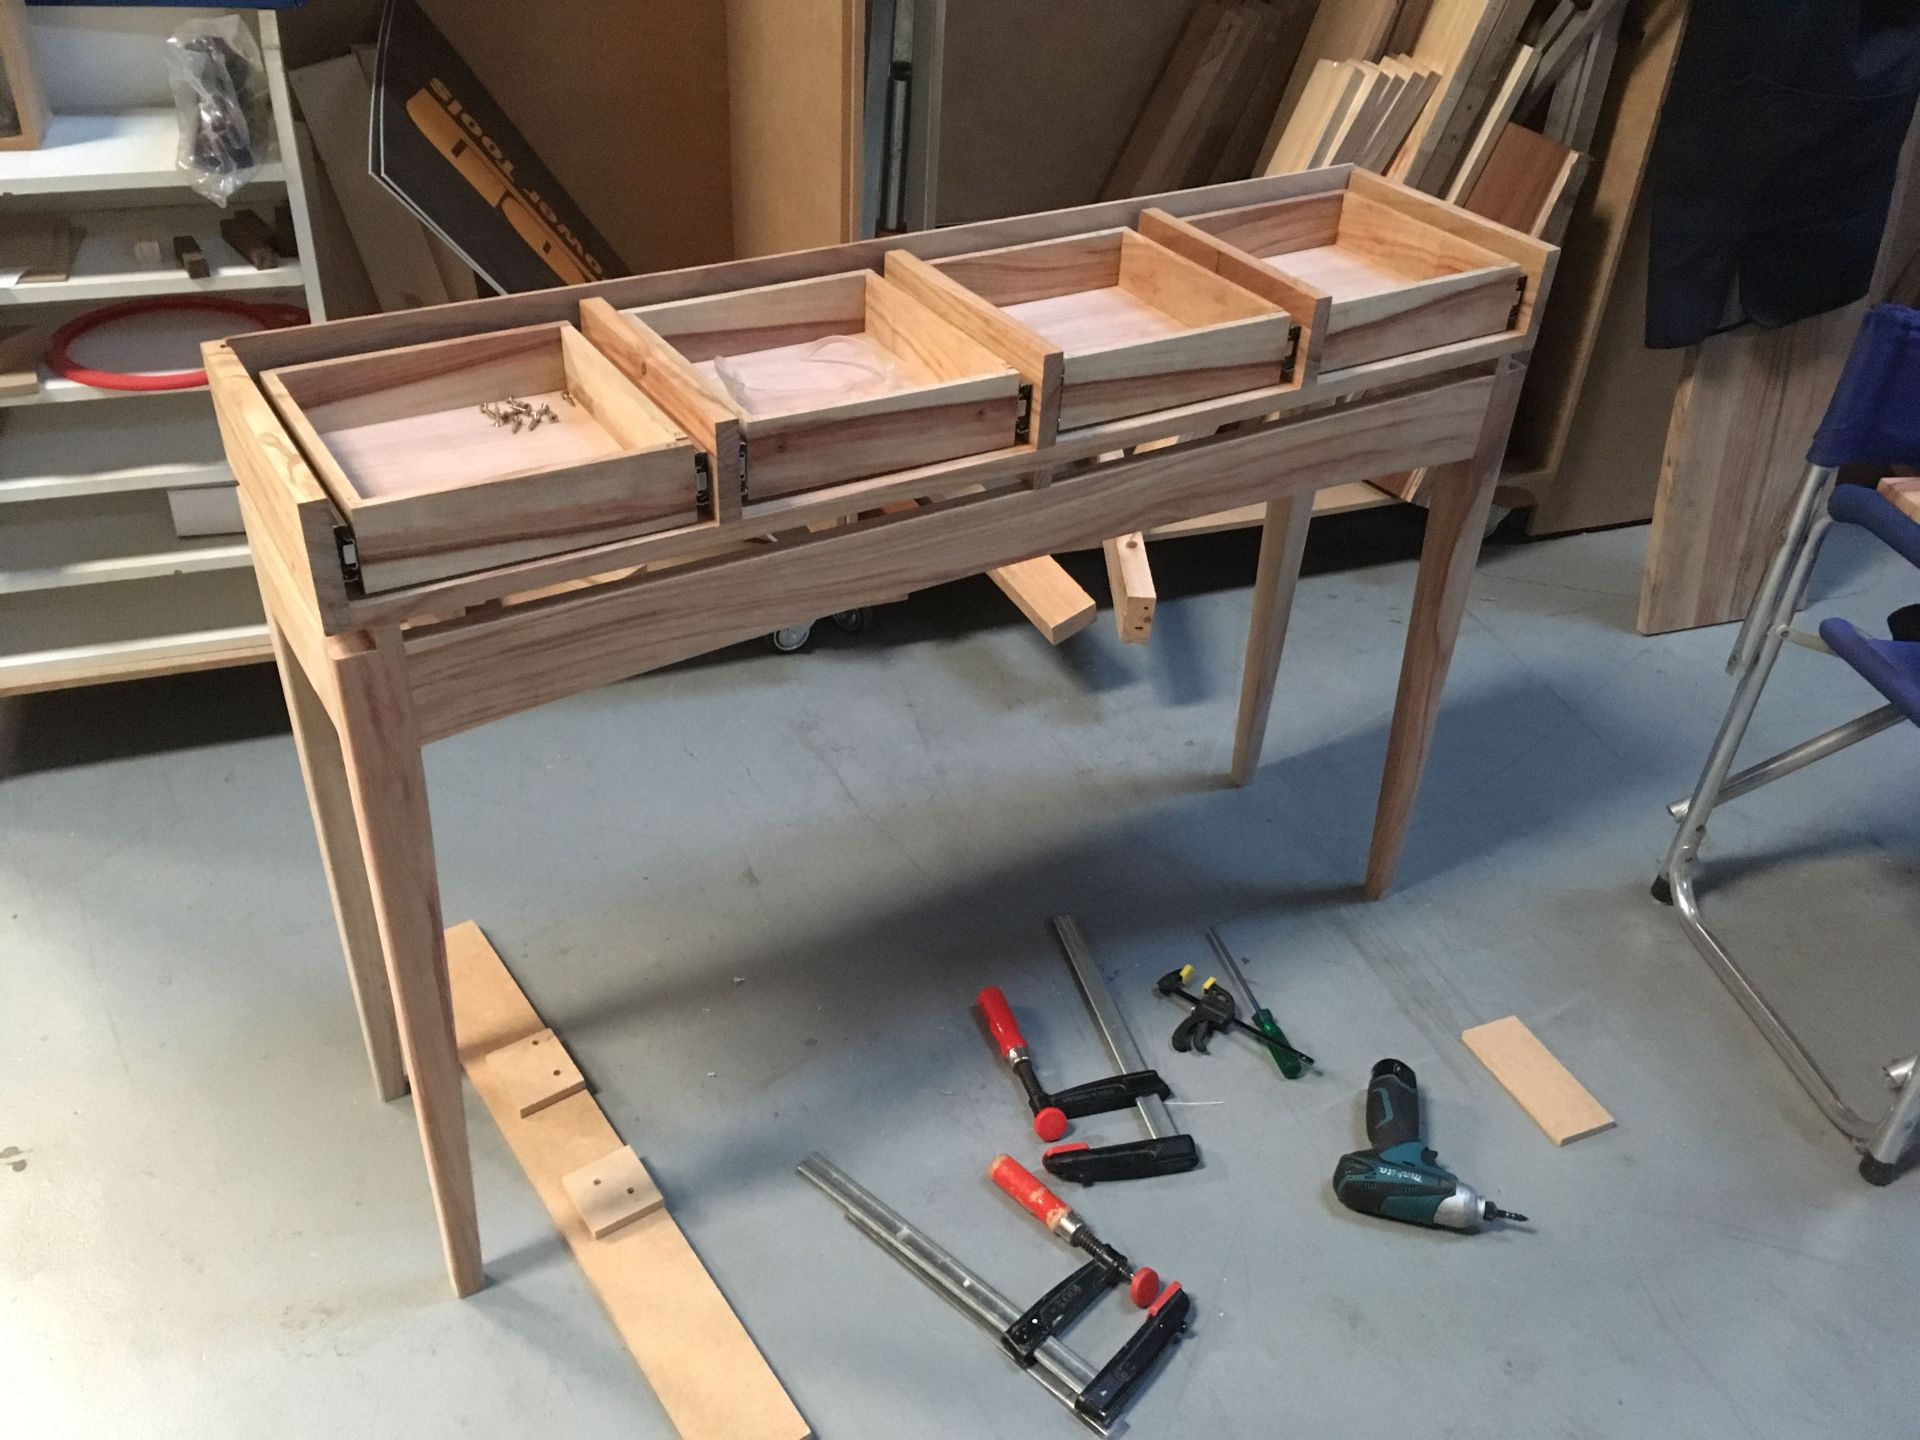
Now that the carcass is finished, time to install the draws.
I didn't use traditional draws and decided to use steel full extension ball bearing draw runners. The benefit of using full extensions is that you get to pull the draw all the way out to expose the whole draw rather than 3/4 of the draw if you were using traditional methods.
The other thing is that with traditional draw runners, the issue of draws sticking is always present. With the aid of ball bearings, steel runners always make it a smooth action.
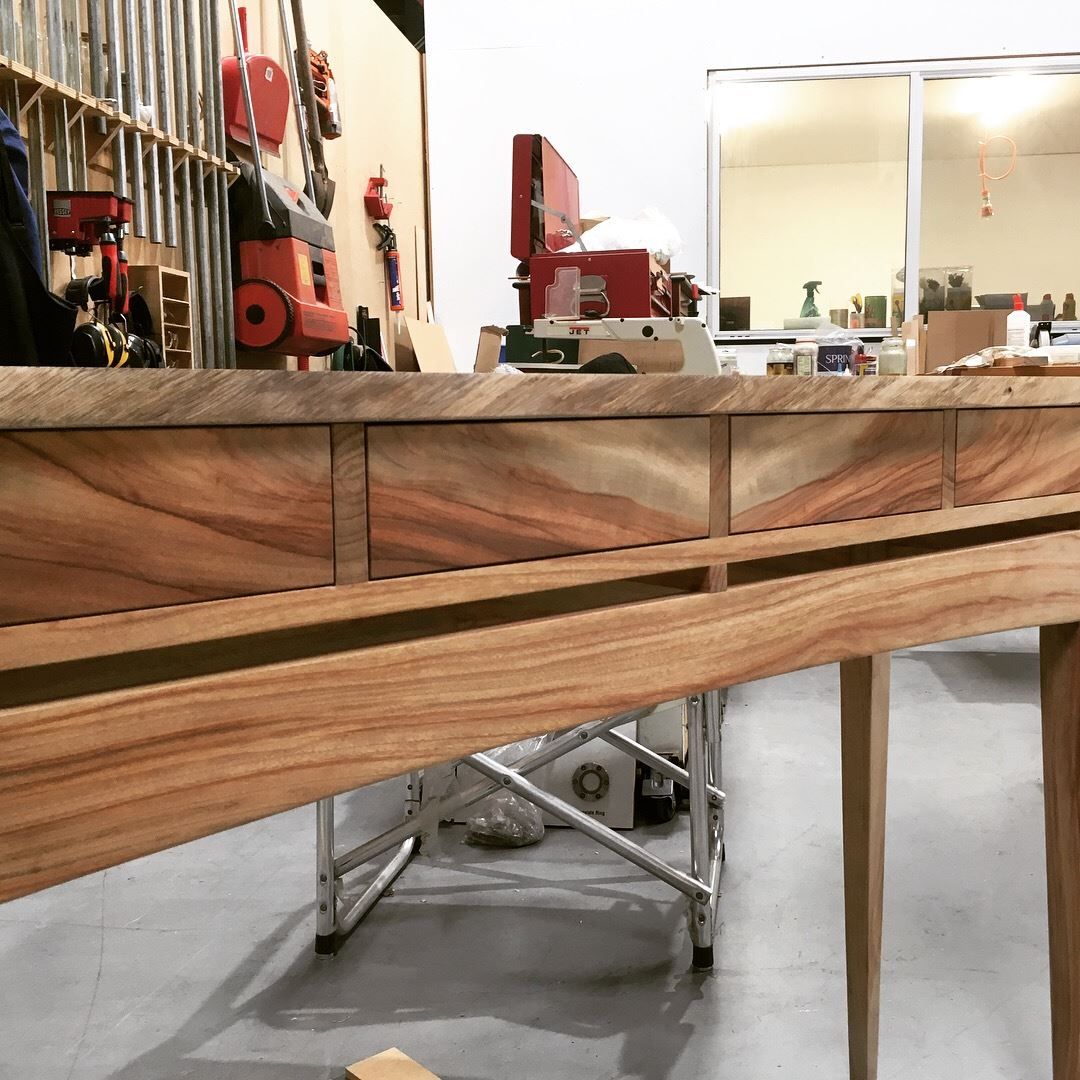
One of the issues with this cabinet is that it is very top heavy with only a narrow distance between the two legs. If I'm not careful, it can topple over quite easily when your pulling out the drawers.
I took the top off so that I had easy reach around the draws to put in the screws.
I love the way the timber grain flows and it looks like a stone deposit. Too bad the false draw fronts will cover up this detail.
 |
 |
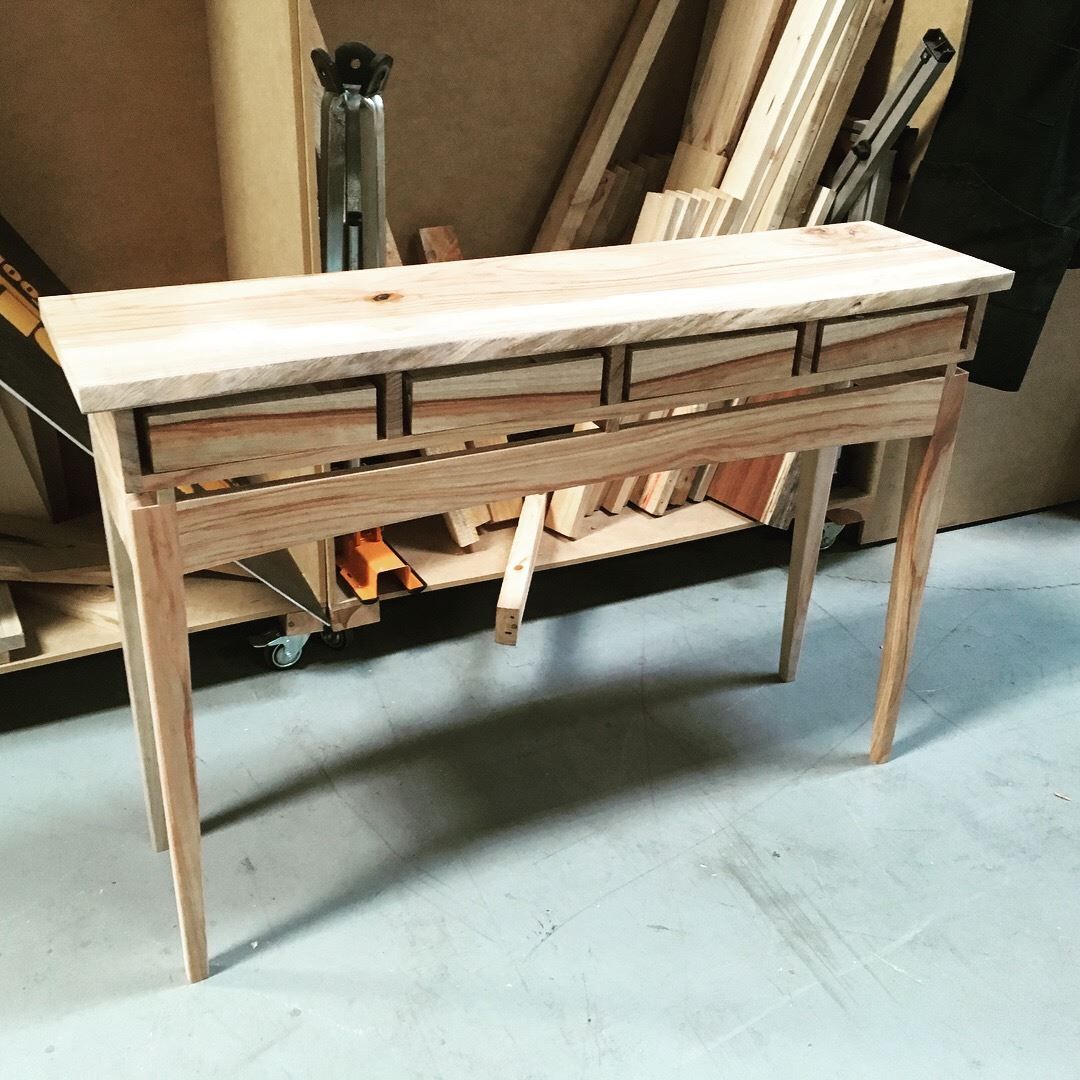 |
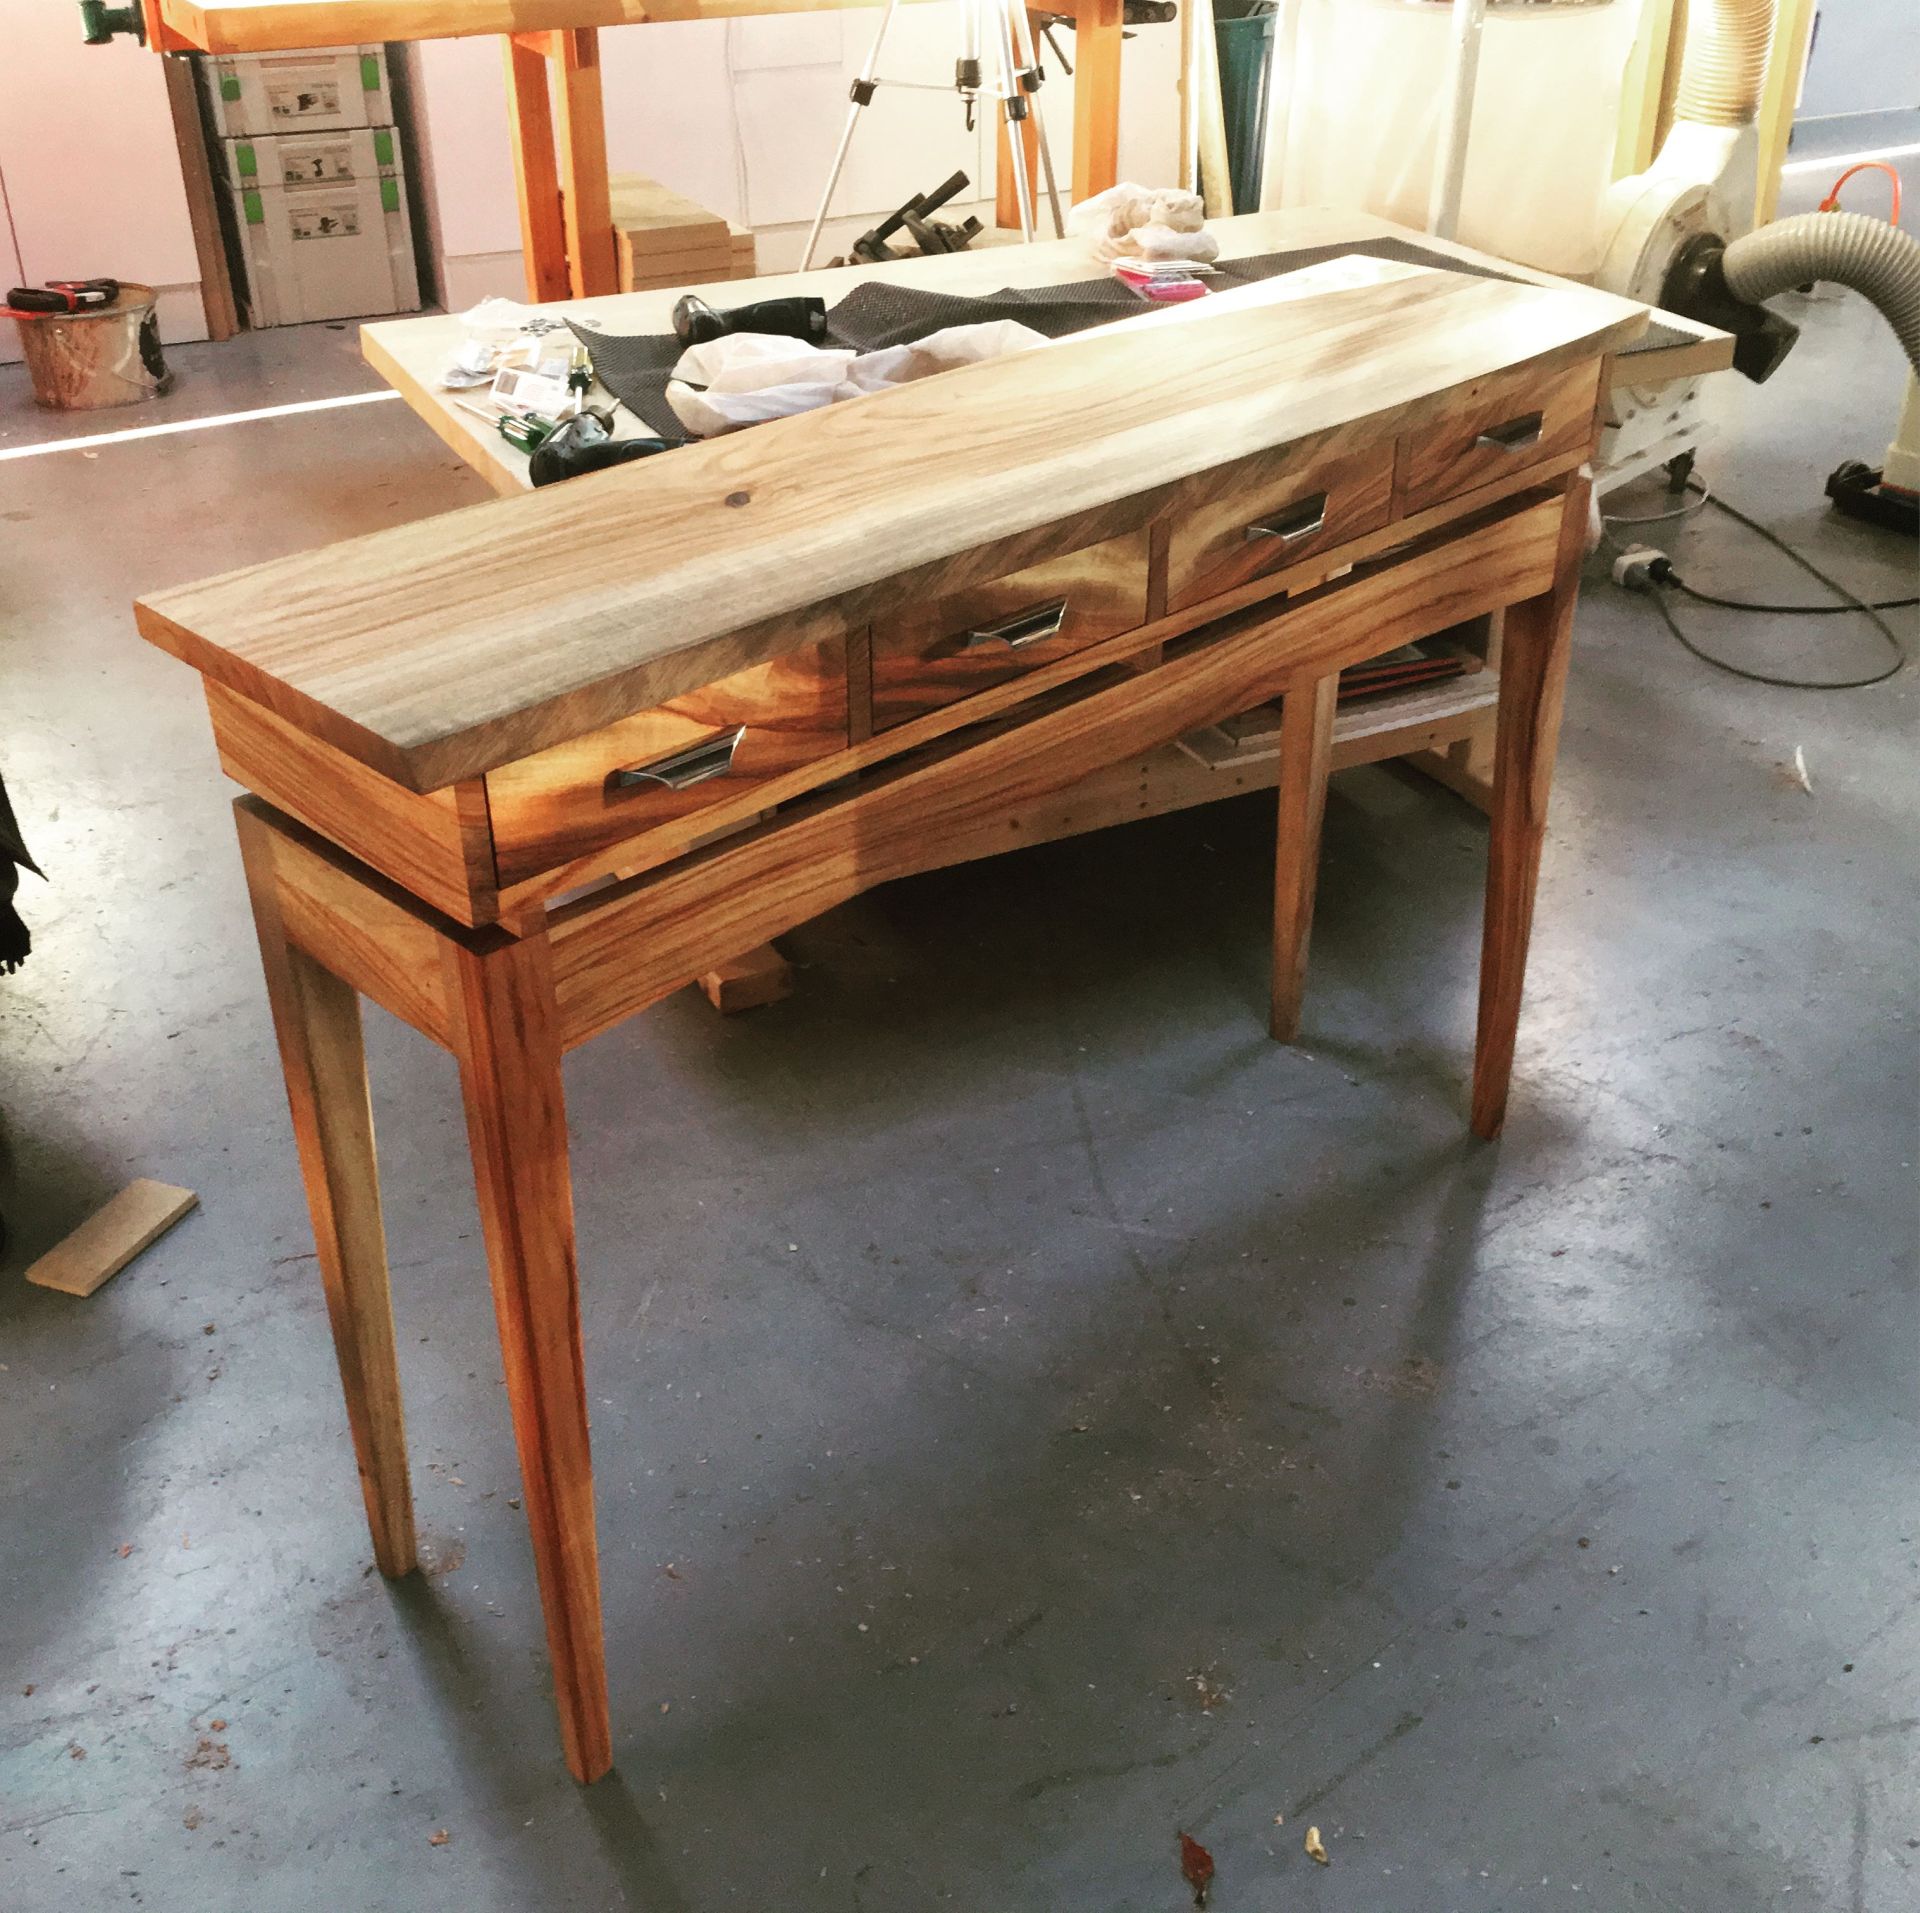
This is the cabinet after the false draw fronts have been installed.
I book matched a crotch piece which I cut down to 12mm thick as the draw fronts.
 |
 |
 |
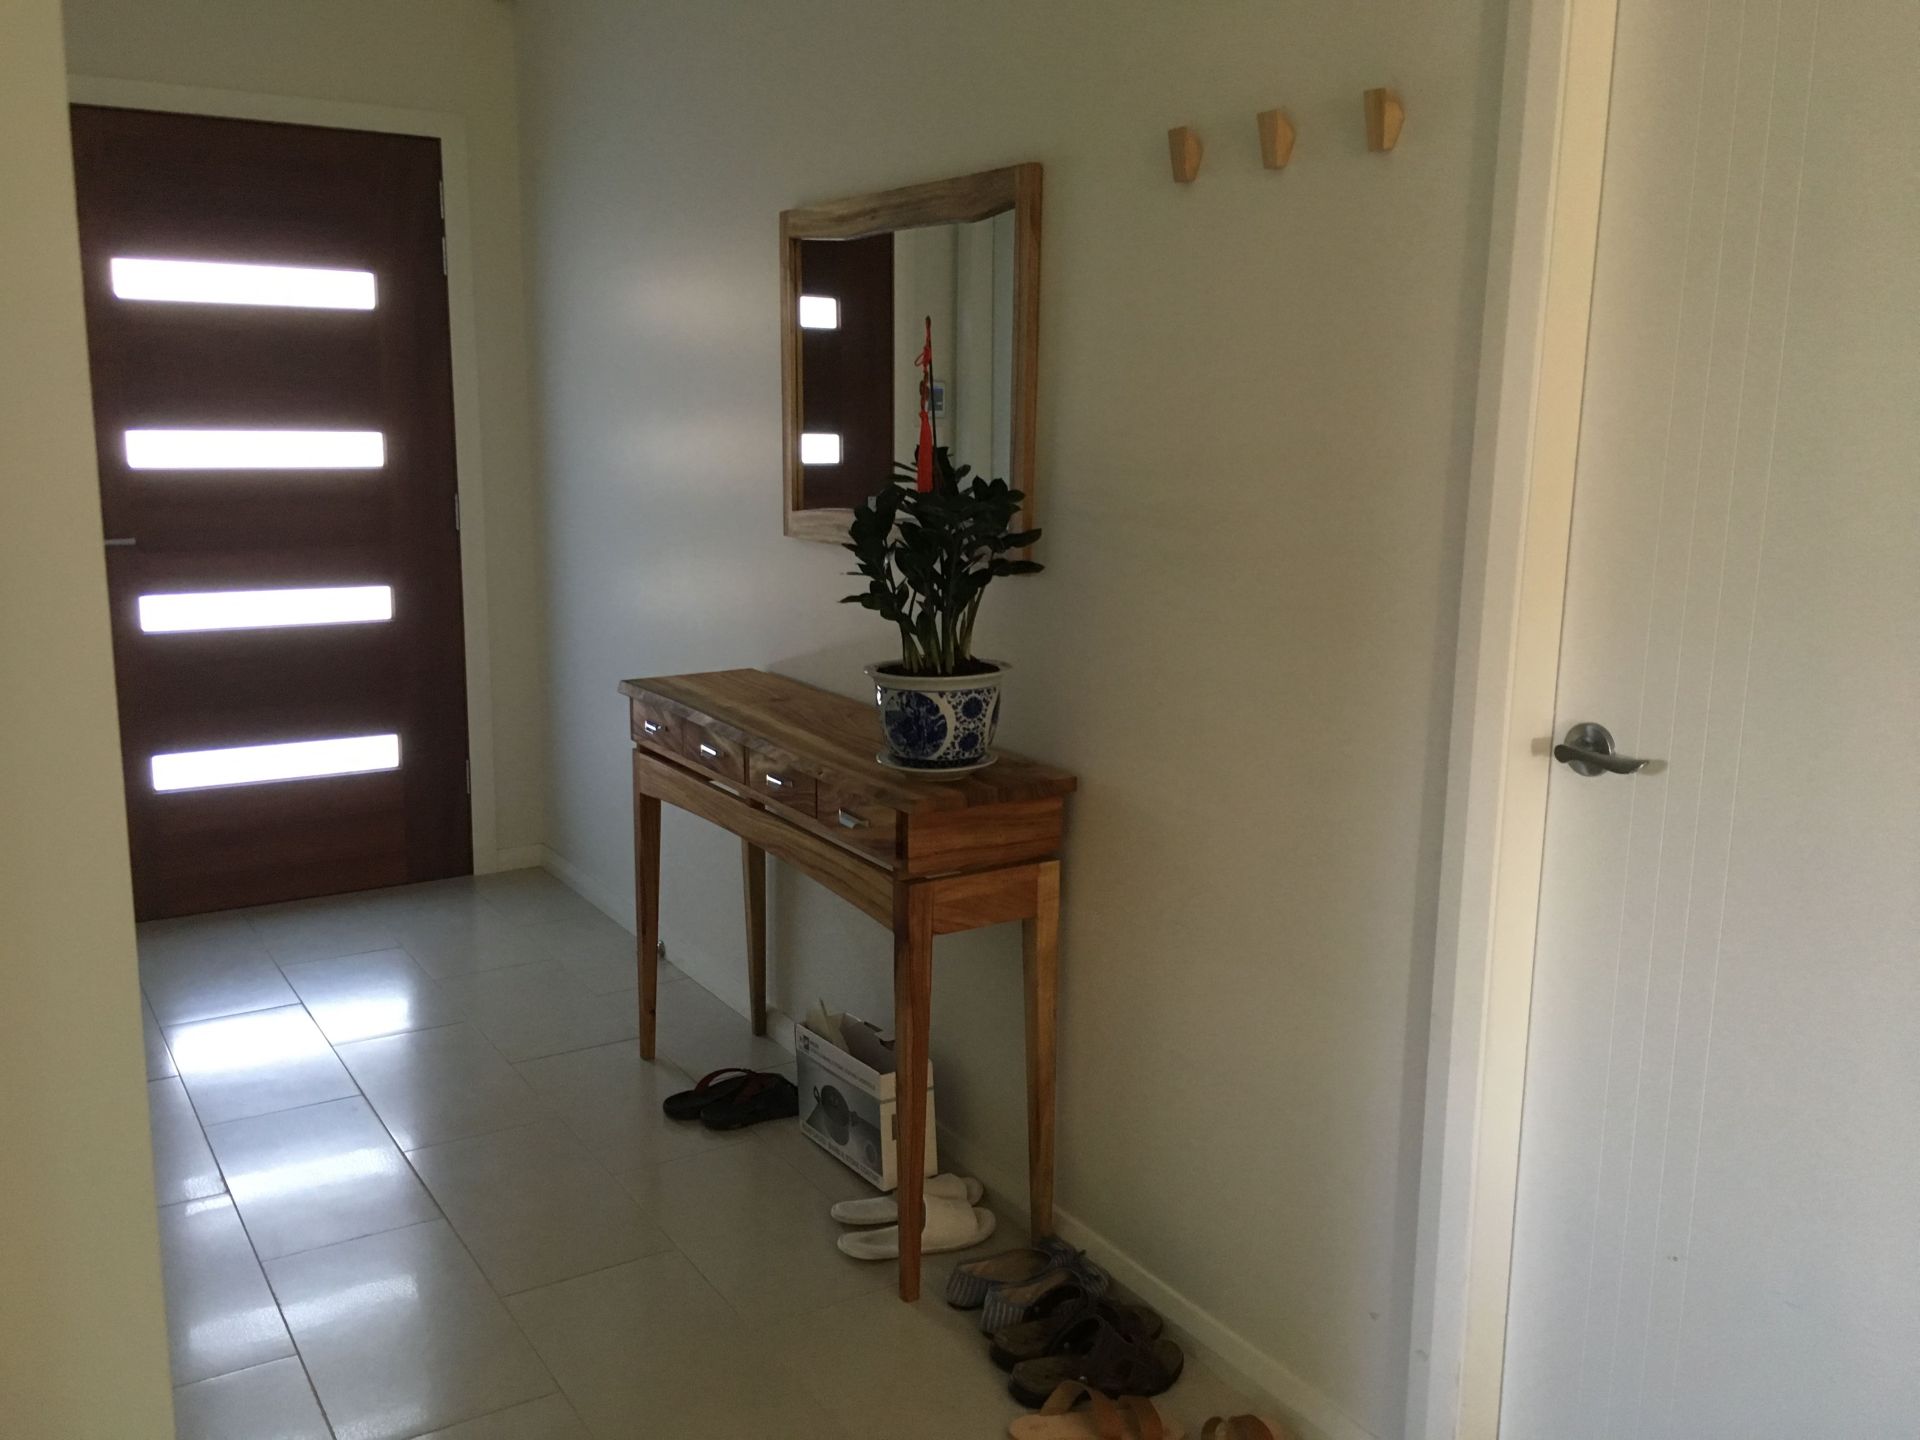
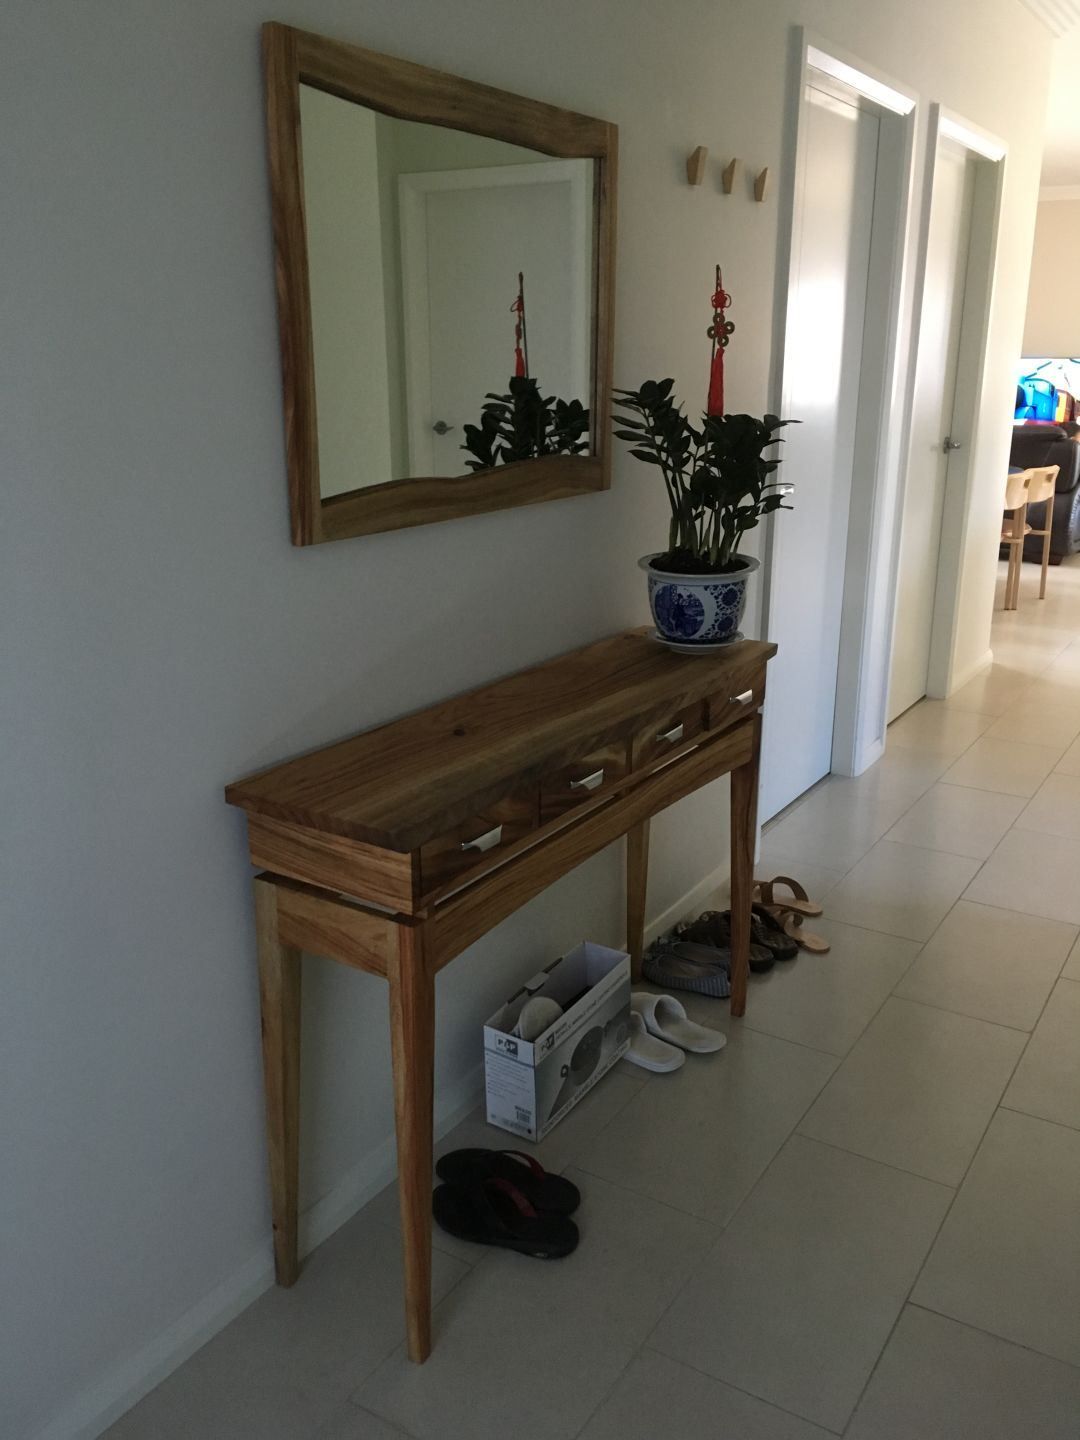
So I finished up the hall table and delivered it to my Auntie before Christmas.
We decided to use commercial pulls rather than me turn up 4 round pulls.
Some people do not like, but my Auntie loves it - and that is all that matters. As you can tell by the last pictures, we're an Asian family by our choice of footwear.
I also made up a natural edge mirror to go with the entry / hall table.
 |
 |
 |
Leave a comment