
Box making is a great hobby that can help you hone your craft.
Plus, you can have fun with the design — adding features to test your skill level (or maybe matching the gift receiver's tastes).
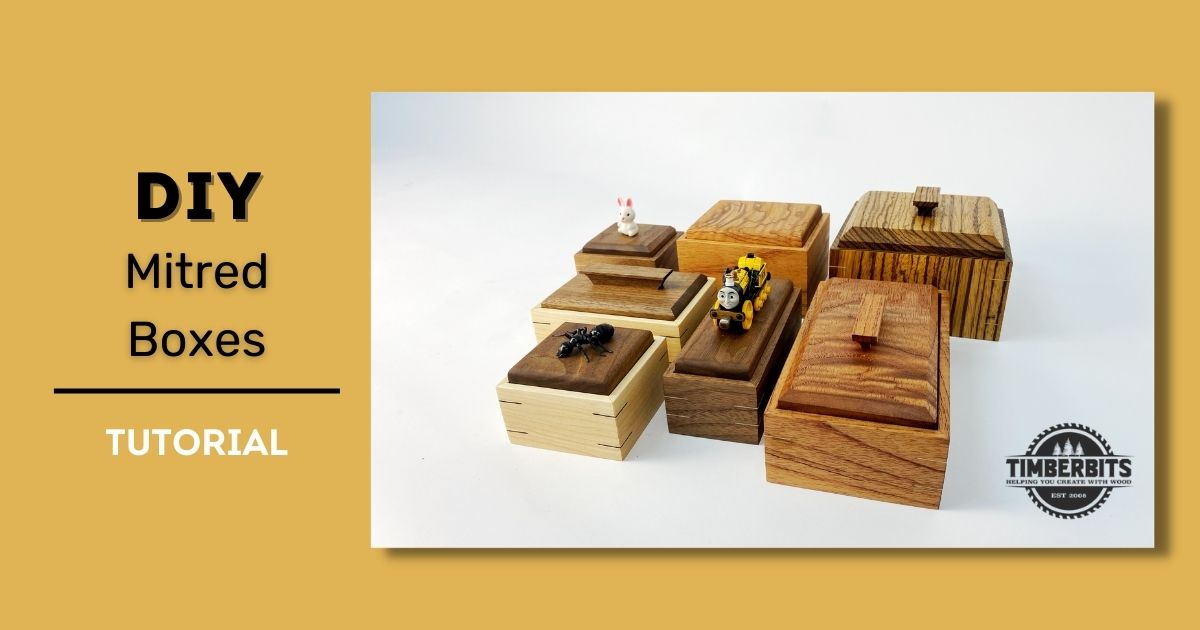
If you’re searching for your next DIY project then check out this latest tutorial look for Mitred Boxes.
Follow our step-by-step instructions below to create your own!
What you need to make your own mitre box
Before you get started, it’s important to note that there is some assumed knowledge for the tools we mention below.
But if you’re interested in brushing up on some of these skills — check out the Timberbits Woodworking School! And you can learn how with the help of our in-house experts.
If you’re ready to make it yourself — the project itself will take roughly four to five hours from start to finish.
Experience level
Beginner
Skills
- Hand planes
- Plow plane
- Shooting board
- Mitred Shooting board
- Clamping with string
- Cutting Mitre Joints
Here’s what you’ll need to create your mitre box:
Materials
- 3 pieces of Timber (Box Sides : 200mm x 35mm x 25mm or 400mm x 35mm x 12mm preferably quarter sawn. Box Bottom : 80mm x 140mm x 4mm. Box Lid : 80mm x 140mm x 12mm)
- Wood glue — PVA
- Finish — Preferably either Shellac or Oil. We highly recommend either Organoil – Danish Oil or Kunos – Livos Oil
- Commercial Veneer (roughly 0.7mm thick) in a contrasting color to the box sides.
Tools
- Block Plane
- Plow Plane
- Rebate Plane
- Shooting board
- Mitred Shooting board
- Hand saw
- String for clamping
- Spacing block
Now that you have everything, it’s time to make your mitre box.
How to make a mitred box (step-by-step instructions)
.png)
Step 1. Mark the box top
Begin marking the box to indicate the box's top and interior.
.png)
Step 2. Plane flat and smooth the interior of the box.
Using the Smoothing plane, flatten and smoothen the box’s interior.
.png)
Step 3. Cut a trench on a bottom exterior
On the bottom interior of the box side, using a Plow Plane, cut a trench that is 6mm deep and 3.5mm wide.
.png)
Step 4. Cut a rebate on the box side
On the top interior of the box side, using a rebate plane, cut a rebate that is 6mm deep and 6mm wide.
.png)
Step 5. Mark the box side
Mark the box side and cut roughly to length using a saw.
In this case, I have used a Nobex Champion picture framing saw.
.png)
Step 6. Clean the mitre cuts
Using a 45-degree shooting board and a block plane, clean the mitre cuts and keep cutting until the opposite side of the box is the same length.
So you should have a pair of opposite box sides that are exactly the same length, and another pair that is also exactly the same length.
.png)
Step 7. Measure and fit
Measure the interior opening of the trench on the bottom of the box side and plane the box bottom to be contained within the rebate.
.png)
Step 8. Time to clean up
Clean up the interior and bottom panel, ready for glue up.
You do this by slowly removing thickness of the box bottom to fit snuggly within the bottom trench.
Once done, give the box bottom and the box sides (only the inside face) a good sand, starting at 80 grit sandpaper and working through the grits to 320 grit.
.png)
Step 9. Glue and clamp mitres
Glue the mitres and clamp them together.
In this case, I have used a homemade clamp made from string and 8 timber blocks.
.png)
Step 10. Plane the top & bottom of the box flush
Once the glue has been set (allow at least one hour if using PVA), flatten the top and bottom of the box flush using a hand plane.
.png)
Step 11. Mark the veneer splines’ location
Mark out where the veneer splines are to be located. In this instance, I have marked it 15mm on both sides and 15mm from the top and bottom.
.png)
Step 12. Cut the spline trenches with a tenon saw
Using the tenon saw, simply cut the spline trenches on every side.
.png)
.png)
Step 13. Glue the veneer splines
Glue in the veneer splines in with PVA and a veneer of a contrasting tone.
.png)
Step 14. Pair off the overhanging splines
After the glue has set — I usually leave it overnight — pair off the overhanging splines. A belt sander or disc sander will also work in this situation.
.png)
Step 15. Cut a top for the rebate space
Cut a top to fit into the rebate space on the top of the box.
.png)
Step 16. Dress up the top
Using a smoothing plane, dress up the top.
Step 17. Sand the box and lid
Sand box and lid using sandpaper from 80 grit all the way up to 320 grit.
.png)
Step 18. Make a handle
If desired, make a handle or glue a knick-knack/ornament to act as a handle.
.png)
Step 19. Oil box and allow to dry
For the last step, finish your box with either Shellac or oil and let it dry.
.png)
Watch how to make it
Minimise Mistakes! Two pressure points that you need to watch out for
Pay special attention to the following. If these issues are not addressed, a well made box will be difficult to achieve.
- When creating the box, ensure the mitre joints are precisely 45 degrees.
- Take note that the opposite box sides are exactly the same size.
That’s it for this tutorial. If you make your own mitre box, send us photos of your work so we can share them with the community! We love to see your progress.
And if you’re interested in coming to any of our workshops — check out our woodworking and woodturning classes here.
Leave a comment